Are you an agency? Scale your team's work and impact with The Agency Package.
Are you an agency? Scale your team's work and impact with The Agency Package.
We've done it again! This month has been full of feature releases, and we're here to announce yet another one. This time it's all about clipping masks—a new feature that will allow you to get even more creative with your designs.
Thanks to clipping masks, you can say goodbye to workarounds. In The Brief, you now have access to plenty of masks, so you don't need to create them from scratch in Photoshop or Illustrator.
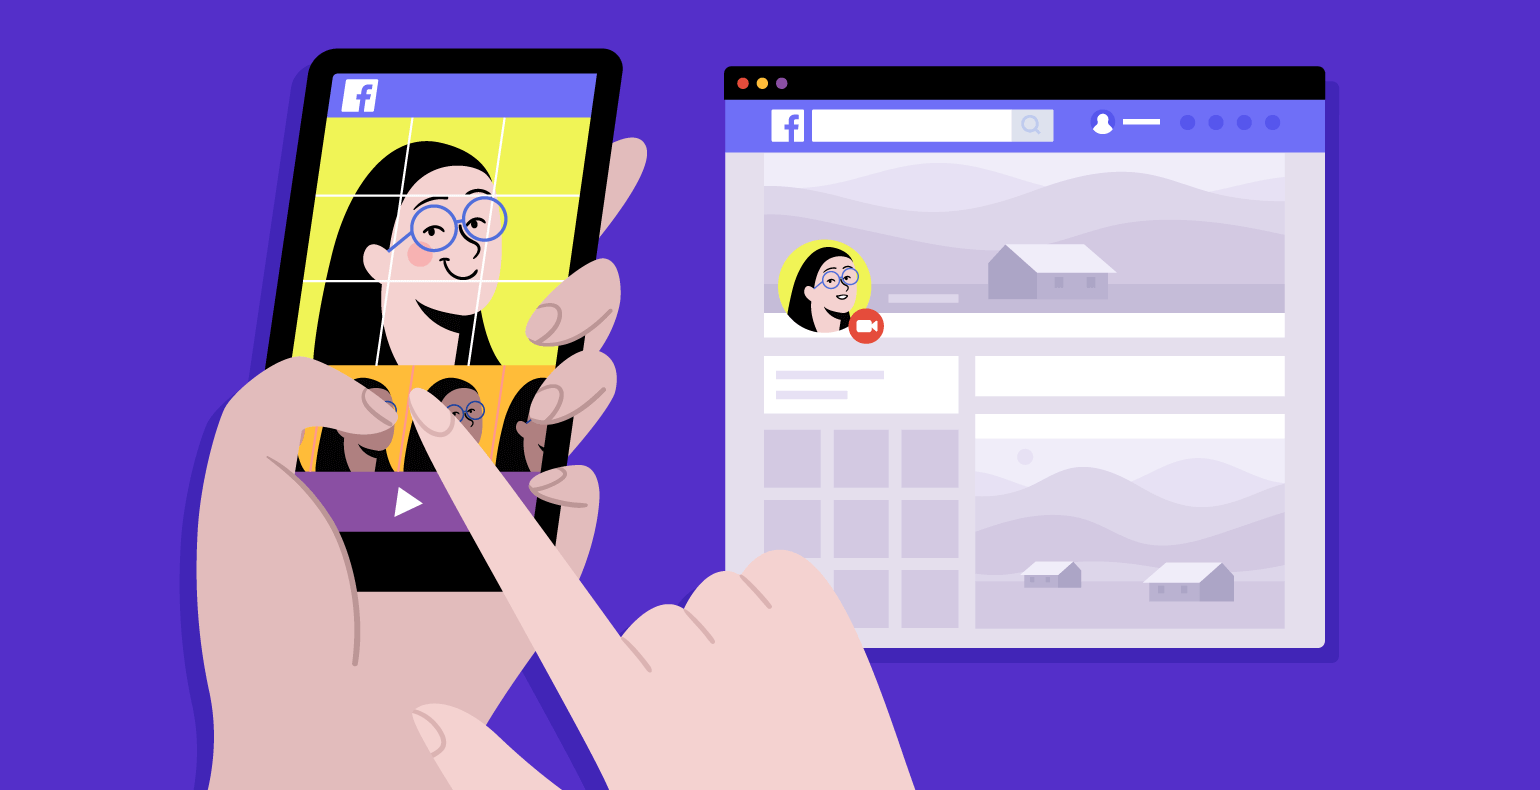
So "How does a clipping mask work?", you may ask. If you haven't already seen this feature, here's a preview for you:
A clipping mask is a shape you apply to an image or video, and so the visual element will take the shape of the mask. The best thing about masks is that with a simple drag and drop motion, you can create stunning designs.
Want to learn how you can create a cool design like this one? Then keep reading to find out.
The feature is available both in the Editor and Generator, and we're going to see how to use a clipping mask in each situation.
Without further ado, let's see how you can give that extra creative vibe to your designs by masking pictures or videos.
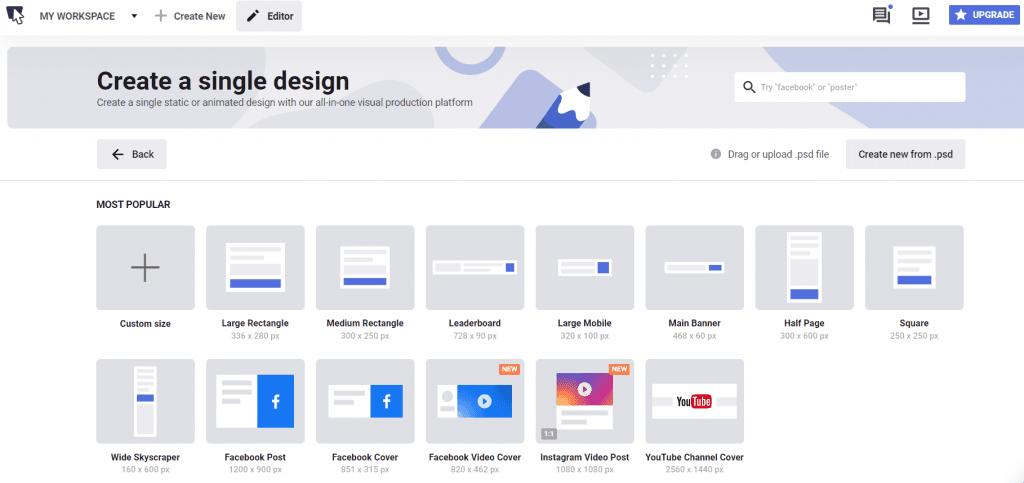
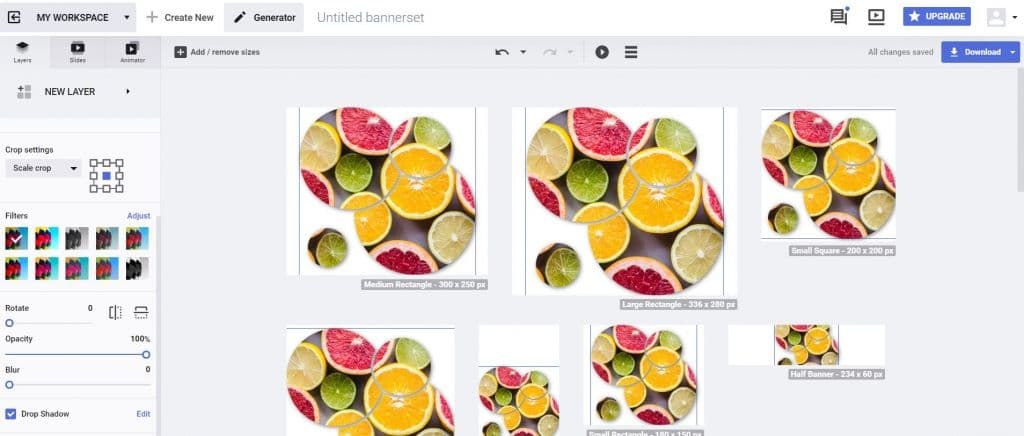
After you're logged in to your The Brief account, click on Single design, and choose the desired size. For this example, we went for the 1080 x 1080 px dimension.
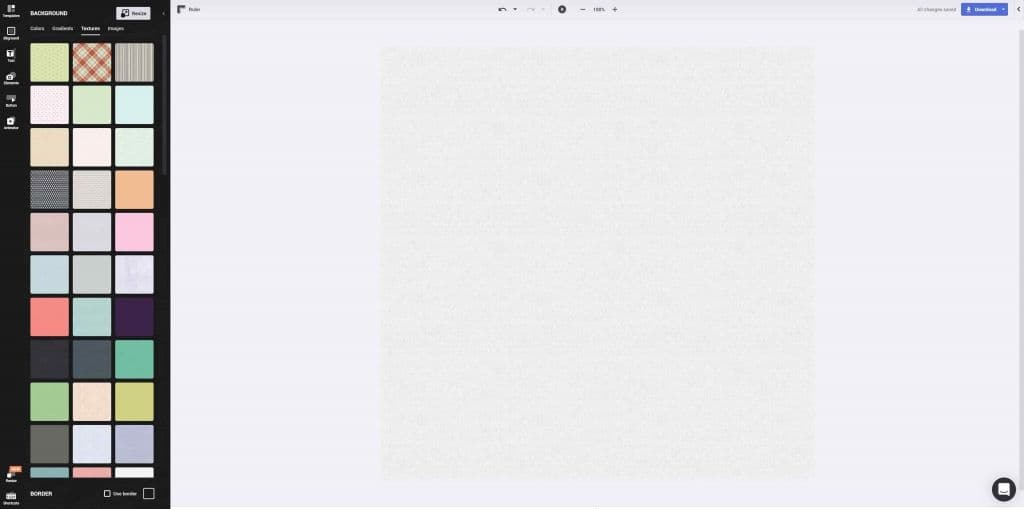
Next, add a background to your empty canvas. You can choose a solid color, gradient, texture, or image. Here, we went for a textured background.
Go to the Elements library, click on Masks, and search for the shape you want to use. Just drag and drop any shape you like onto the background.
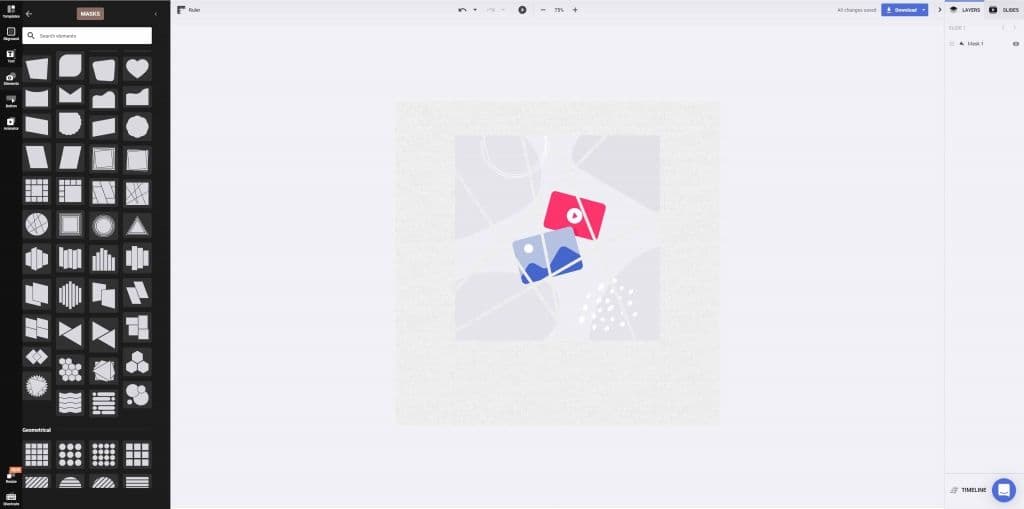
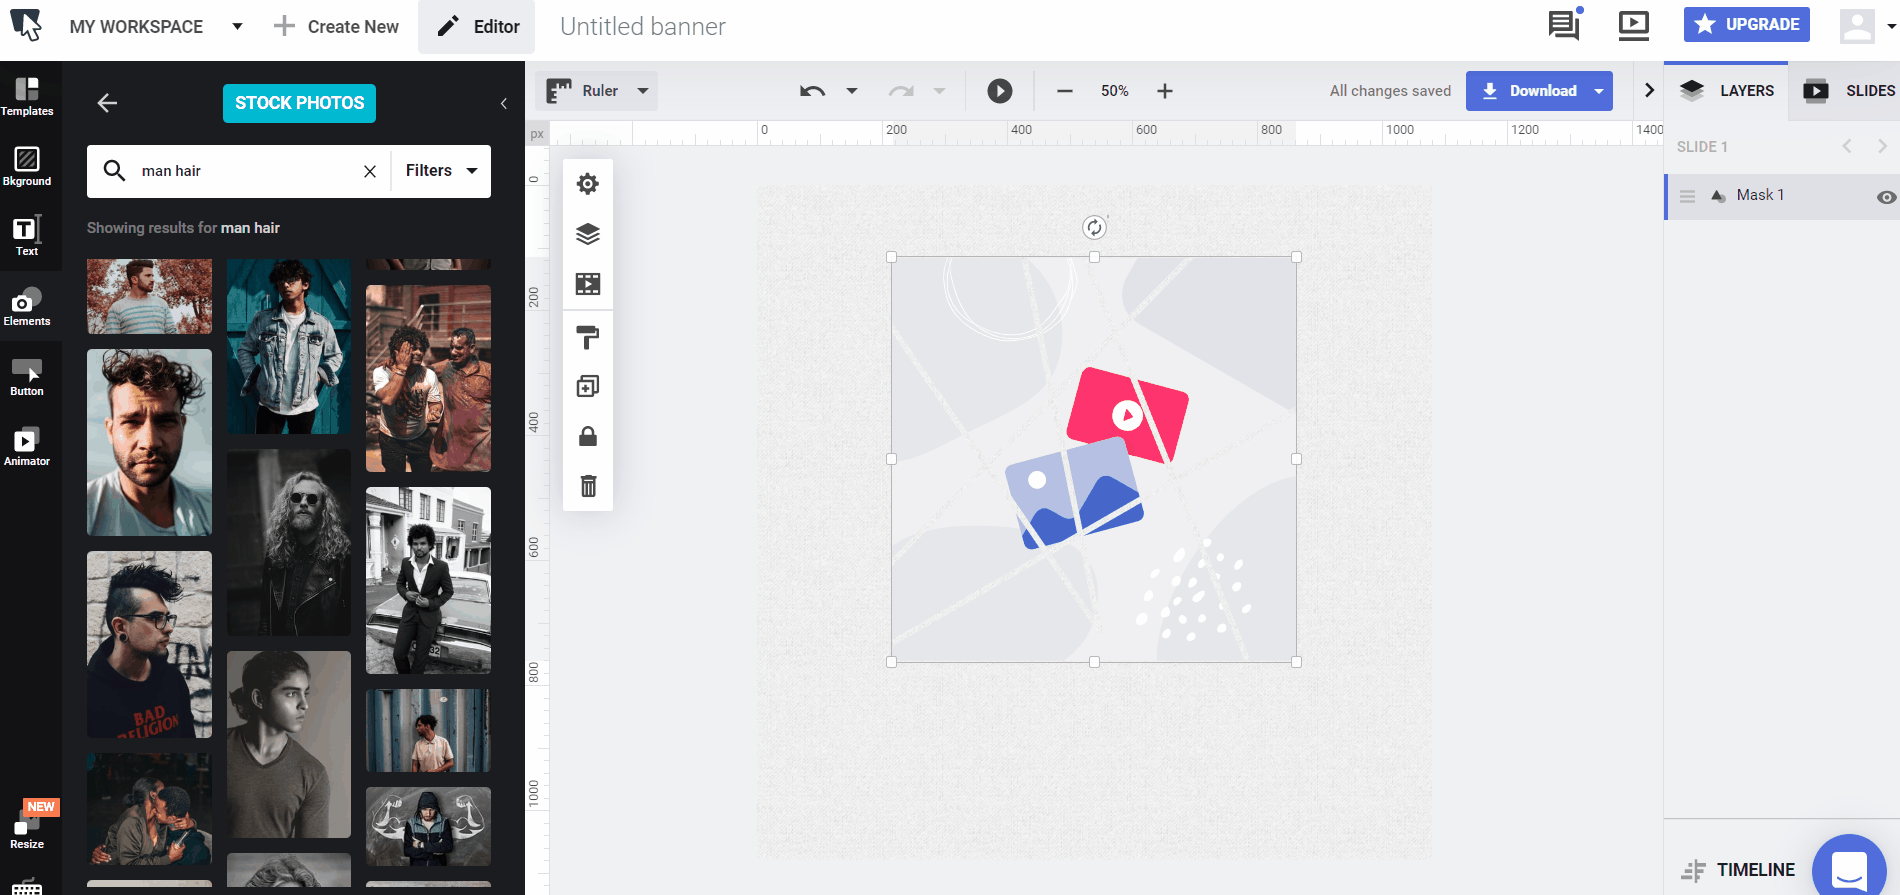
Now it's time to drag and drop the image or video you want to take the shape of the mask you chose. You can add a stock photo or a video from our library, or you can go to My Uploads and upload a file from your computer.
Just place the desired visual element into the mask until the image/video snips into place.
Note: You can always change the image/video or even the mask following the same simple drag and drop process.
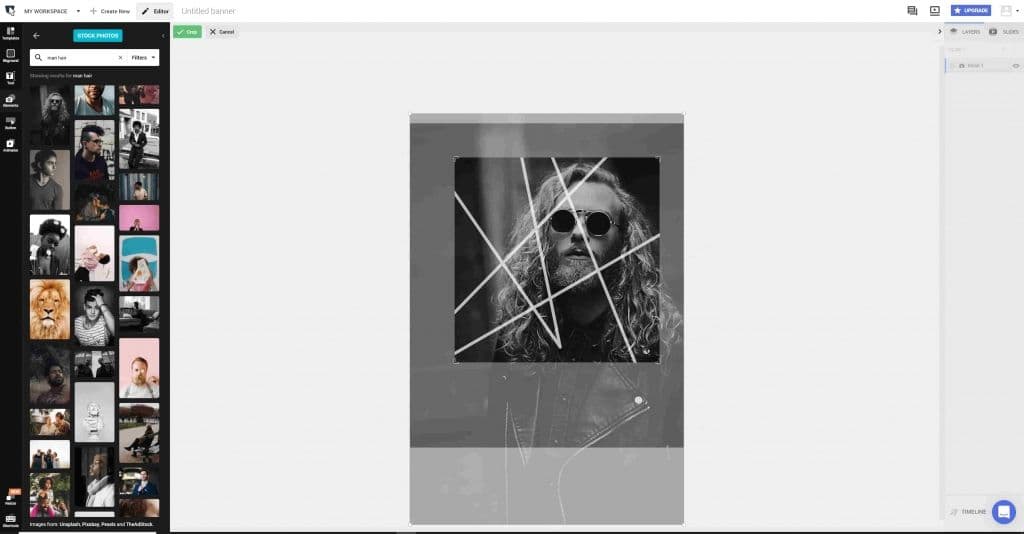
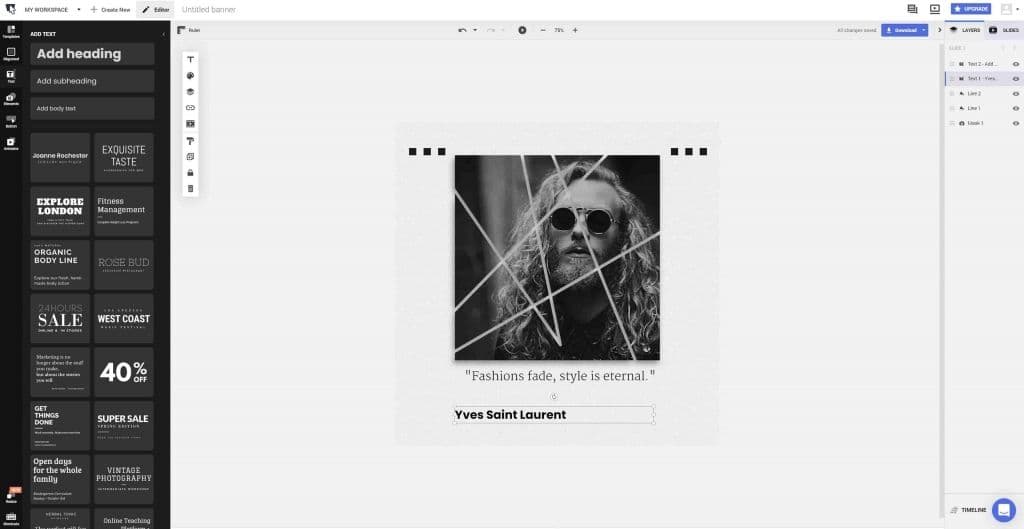
Double click on the image/video to use the crop feature and arrange the visual element inside the clipping mask until you're satisfied with the outcome.
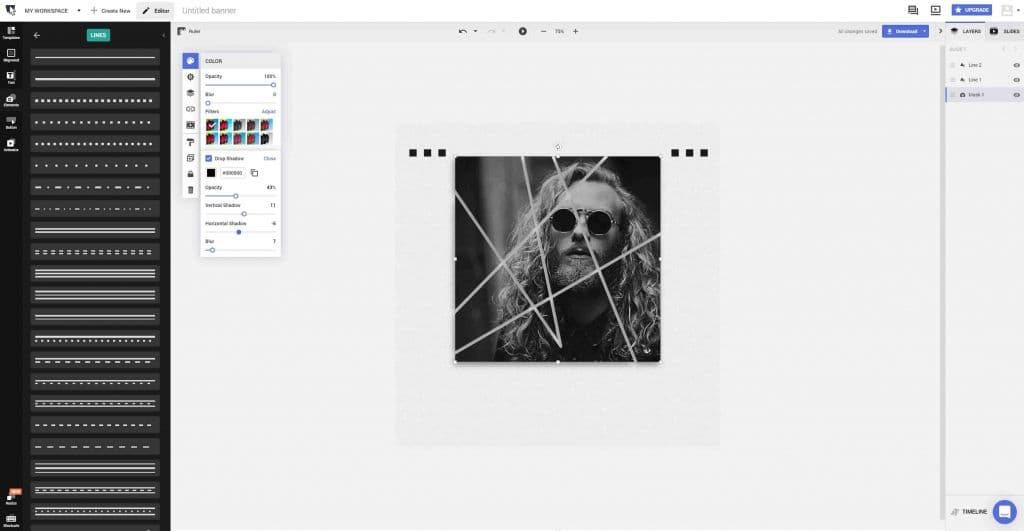
Next, you can go ahead style up your design by adding other elements available in the Editor. Include lines or apply filters for that extra personality.
To complete your design, add a representative copy. Choose from the variety of Google fonts available in the Editor, or you can upload your own custom font.
After you're happy with your work, it's time to download the final design in the desired format, and you're done.
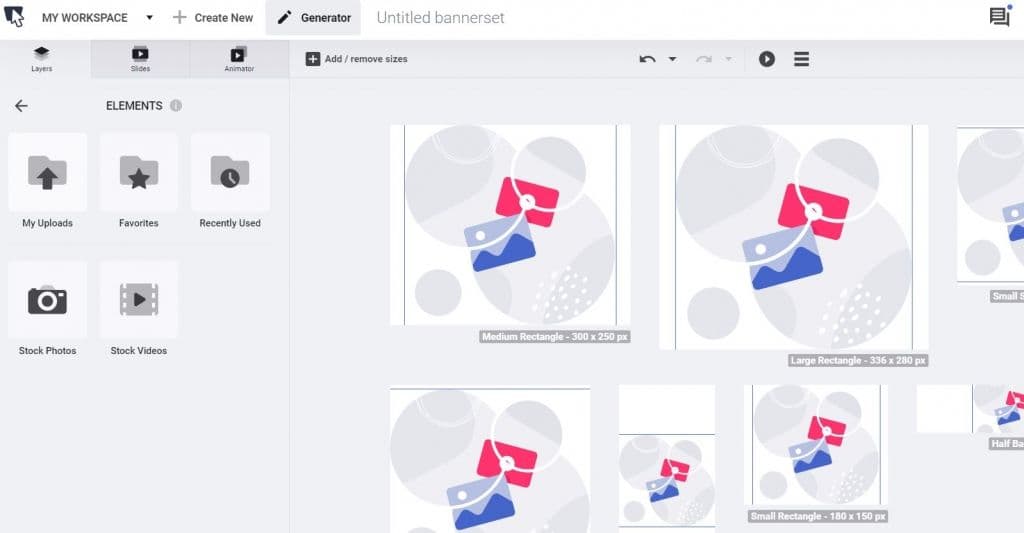
From Create New, click on Design set, choose Static, select the sizes you want to generate, then click Start from blank.
Next, click on New layer from the upper left side menu, then select Masks.
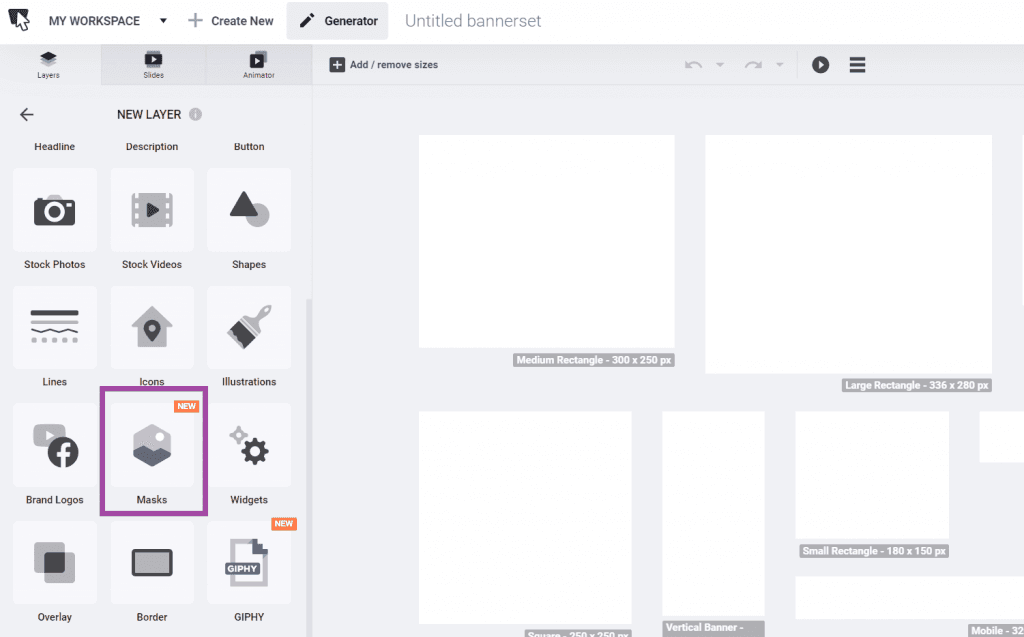
Browse through the masks and find the one you like and want to use in your designs. Click on the desired clipping mask and then on Continue to next step.
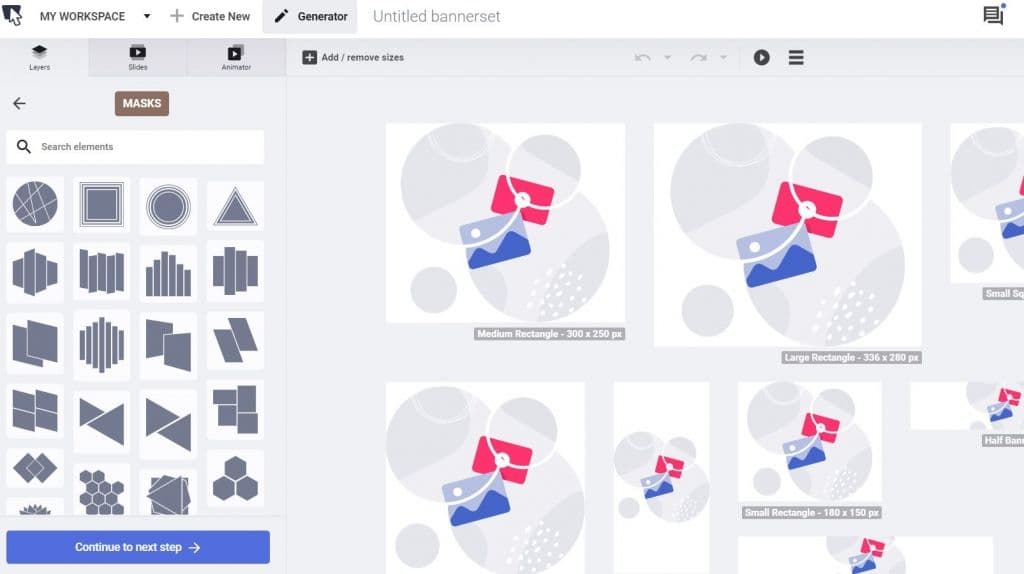
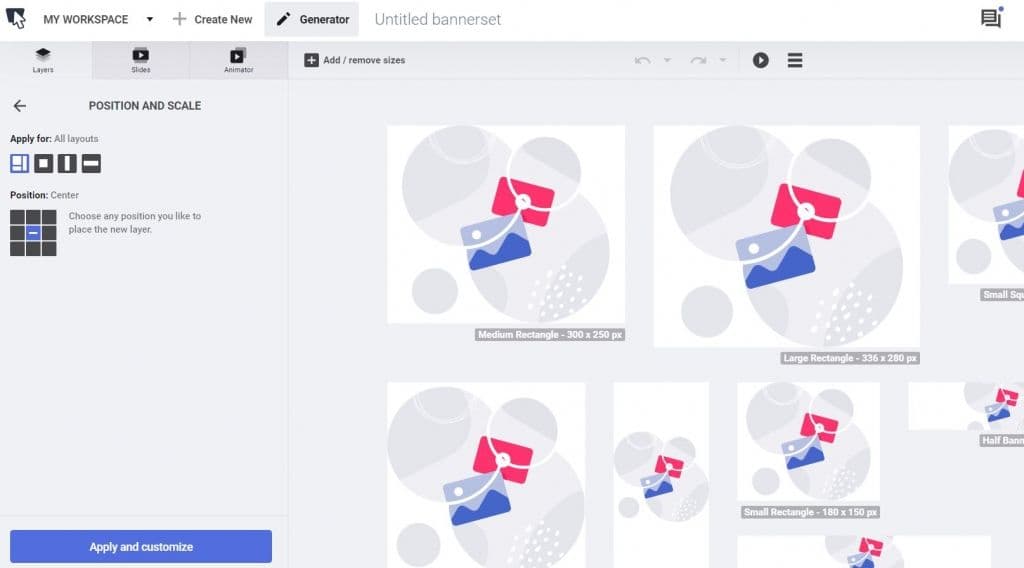
Now you have the option to decide where you want to place your mask. After you've established where you want it to be, click on Apply and customize.
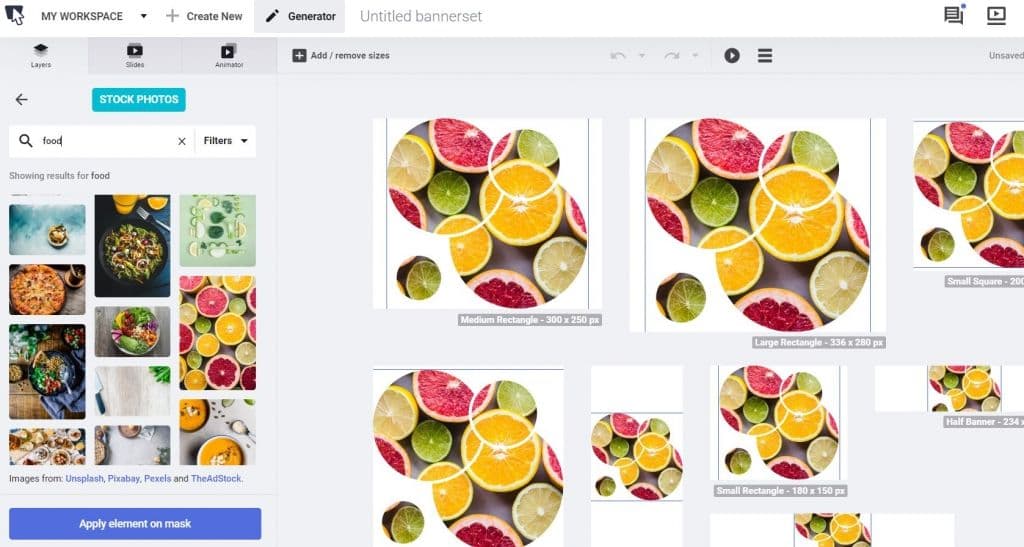
Next, it's time to add an image or a video on the mask. To choose a stock photo or video, click on Elements, and select the category you want.
If you select an image or video from the stock library, click Apply element on mask after you've made the final decision.
You can also add a visual from your computer by clicking on Replace from My Computer.
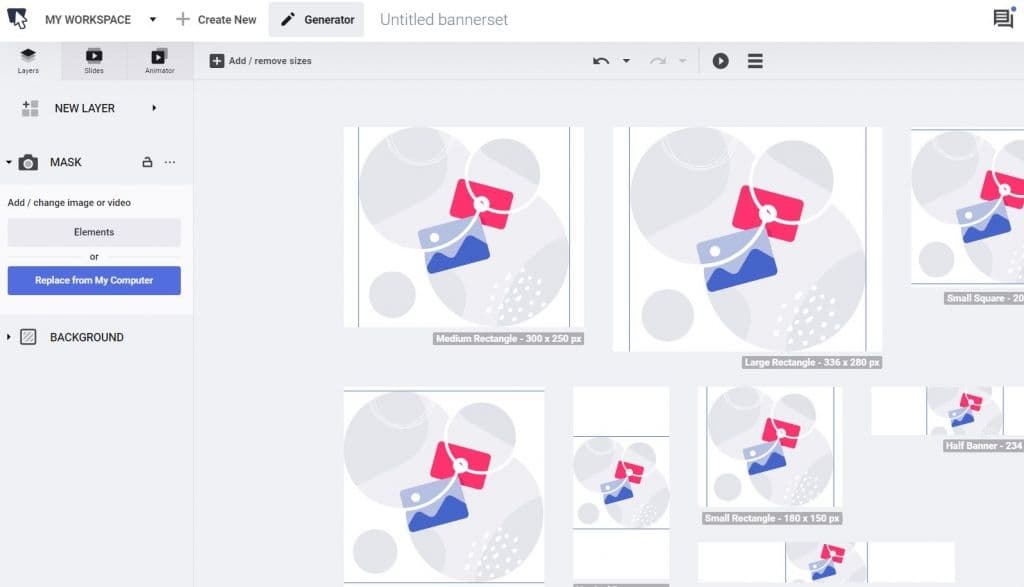
Then, customize your design even further by adding a background, text, a button, or any other elements that you need.
Now, your design set is ready for download.
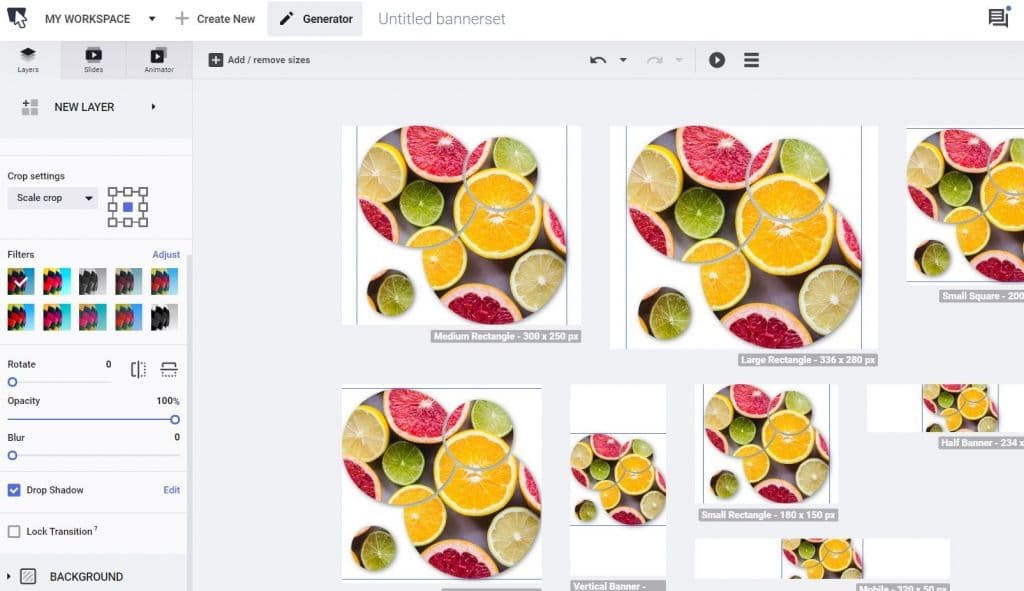
Note: The Generator works a little bit differently than the Editor in the sense that the applied masks on the design set will require individual editing using the crop feature. To edit a single size from the set, double click the size, and you will enter the individual edit mode. From here, you can perform your necessary adjustments that fit each particular size.
Now that you know how to use clipping masks in The Brief without needing any other workarounds, check out these eye-catching design examples to get you inspired.
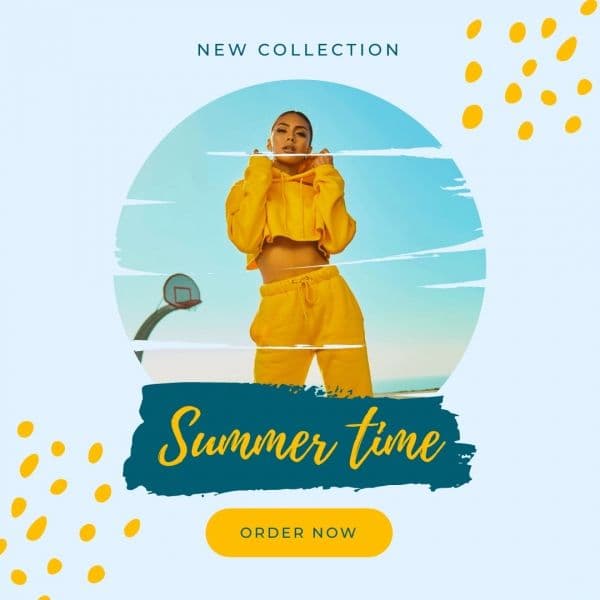
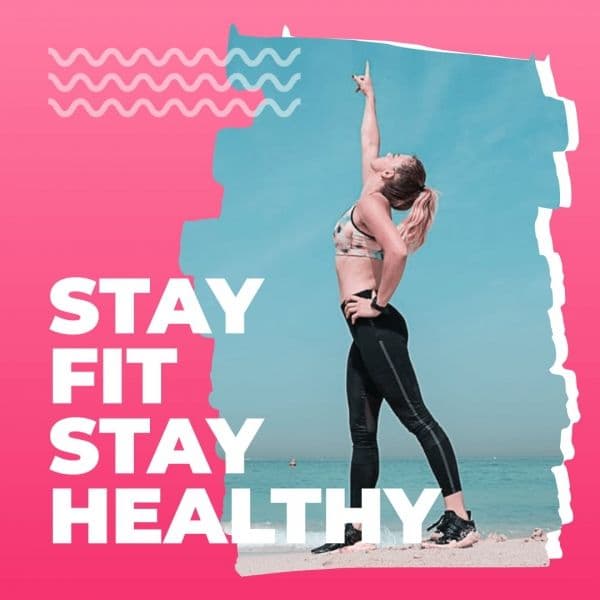
Summer inspires everyone with bright colors, so it won't be challenging to find inspiration if you look outside. Besides, we got you covered on the templates and clipping mask ideas. We even have lots of stock photos if you don't have any prepared.
With the help of these clipping mask examples, you can create stunning visual campaigns for your brand:
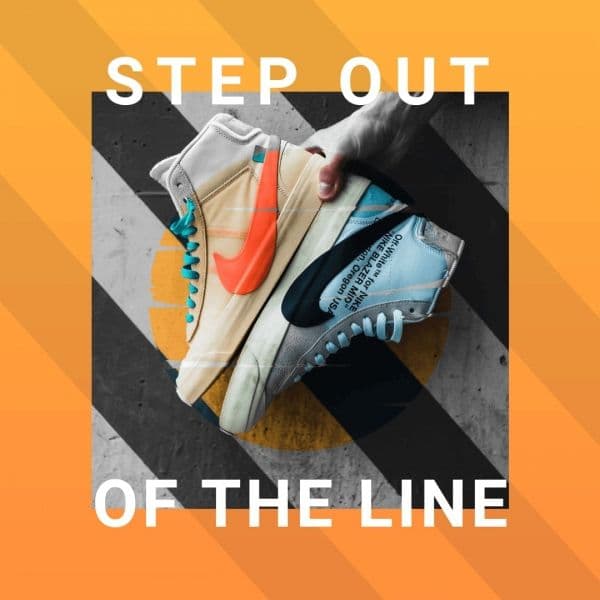
Sometimes, if you use the clipping masks, you won't even have to use bright colors.
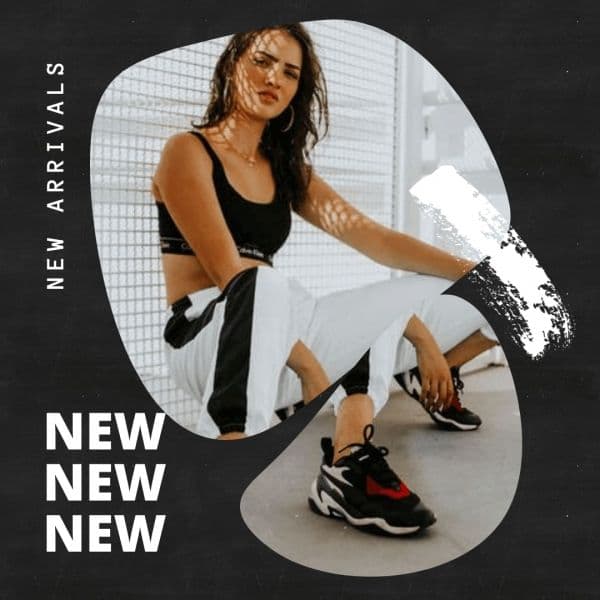
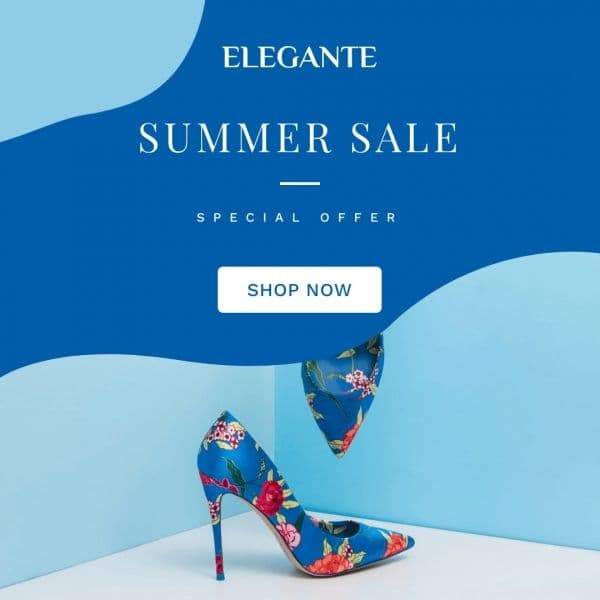
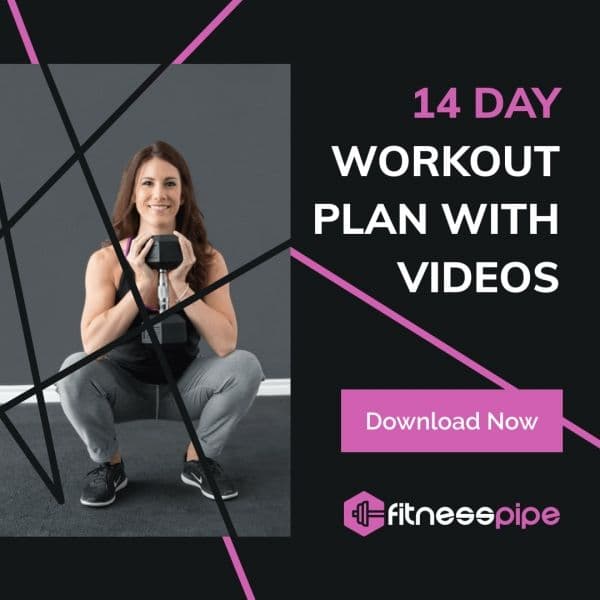
They can break a design in smaller pieces to highlight the products you're advertising. In the following one, we have the clothes on one clipping mask and the shoes on another, so everything gets noticed. Just as in the example below:
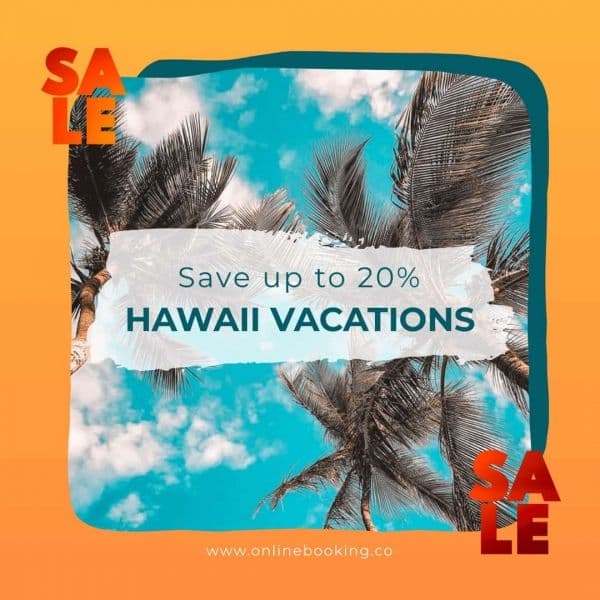
If you have to start a campaign with flash sales and don't have anything prepared for it, take a few pictures, upload them into the platform, or skim through the available stock photos, choose a clipping mask and a font that will catch the attention of your audience. You've got yourself a sales visual.
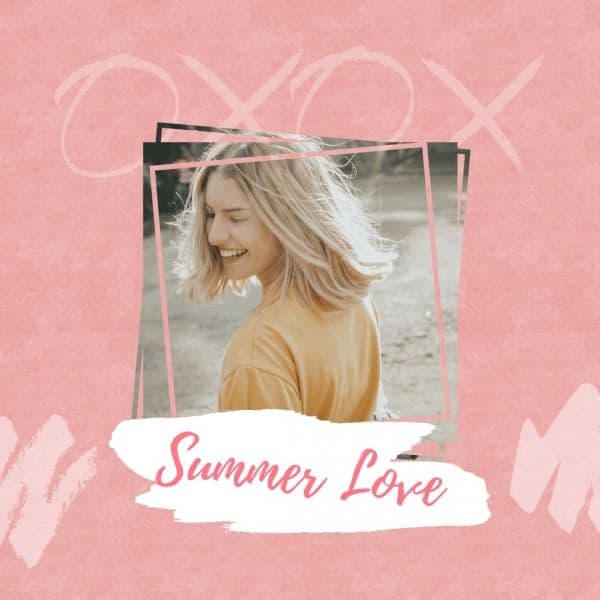
The colors of your visual can be adjusted according to the element you're trying to advertise, so you'll create a perfect blending:
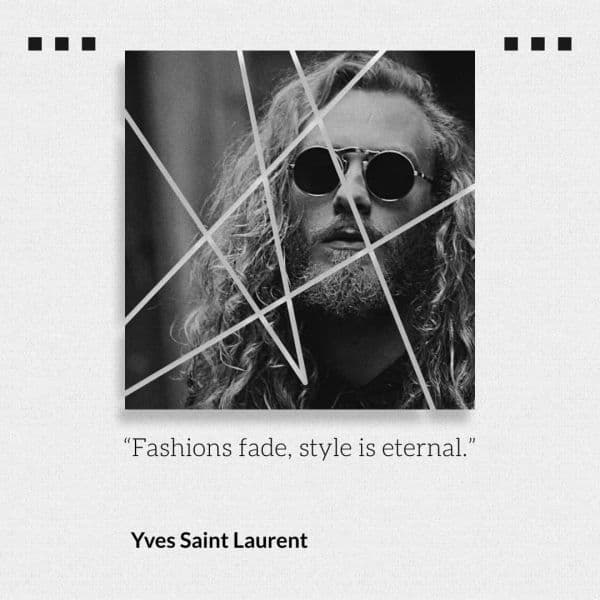
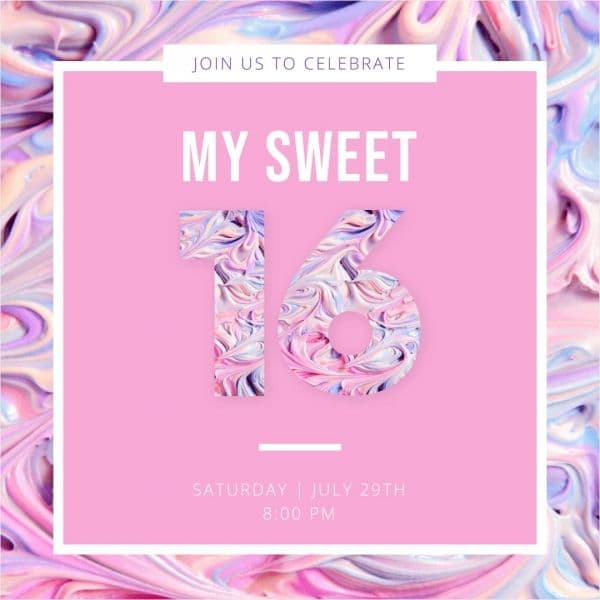
By placing a pattern in an image using clipping mask, you'll get a visual that can be used as a cover for, let's say, a photo album, or your journal, like this:
Turn on the creative mode and add colors, a catchy copy, and a clipping mask to highlight the main idea or element of your visual.
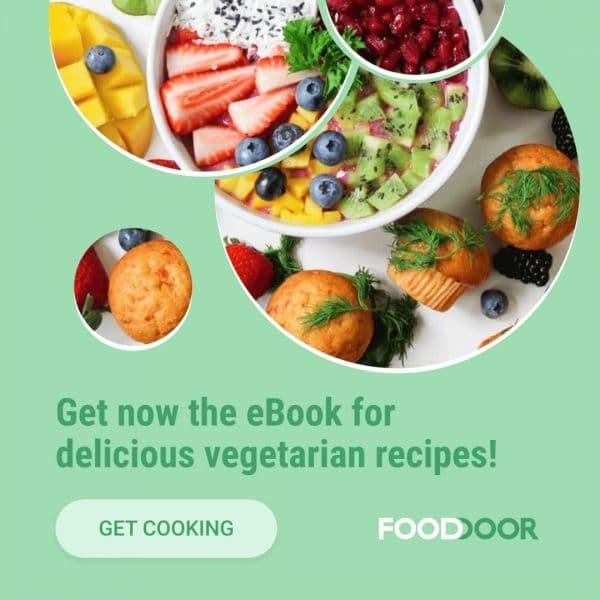
Every recipe can turn into something everyone will try by masking photos and creating an appealing design, like in the example below:
Whenever you feel like your design is missing something, but you just don't know precisely what, try to play with different clipping masks, and you'll surely make something creative.
They have that unique power shape that makes everything look better.
So, start to explore the cut shapes and complex crops, without changing the quality of your designs.
7 days free on us
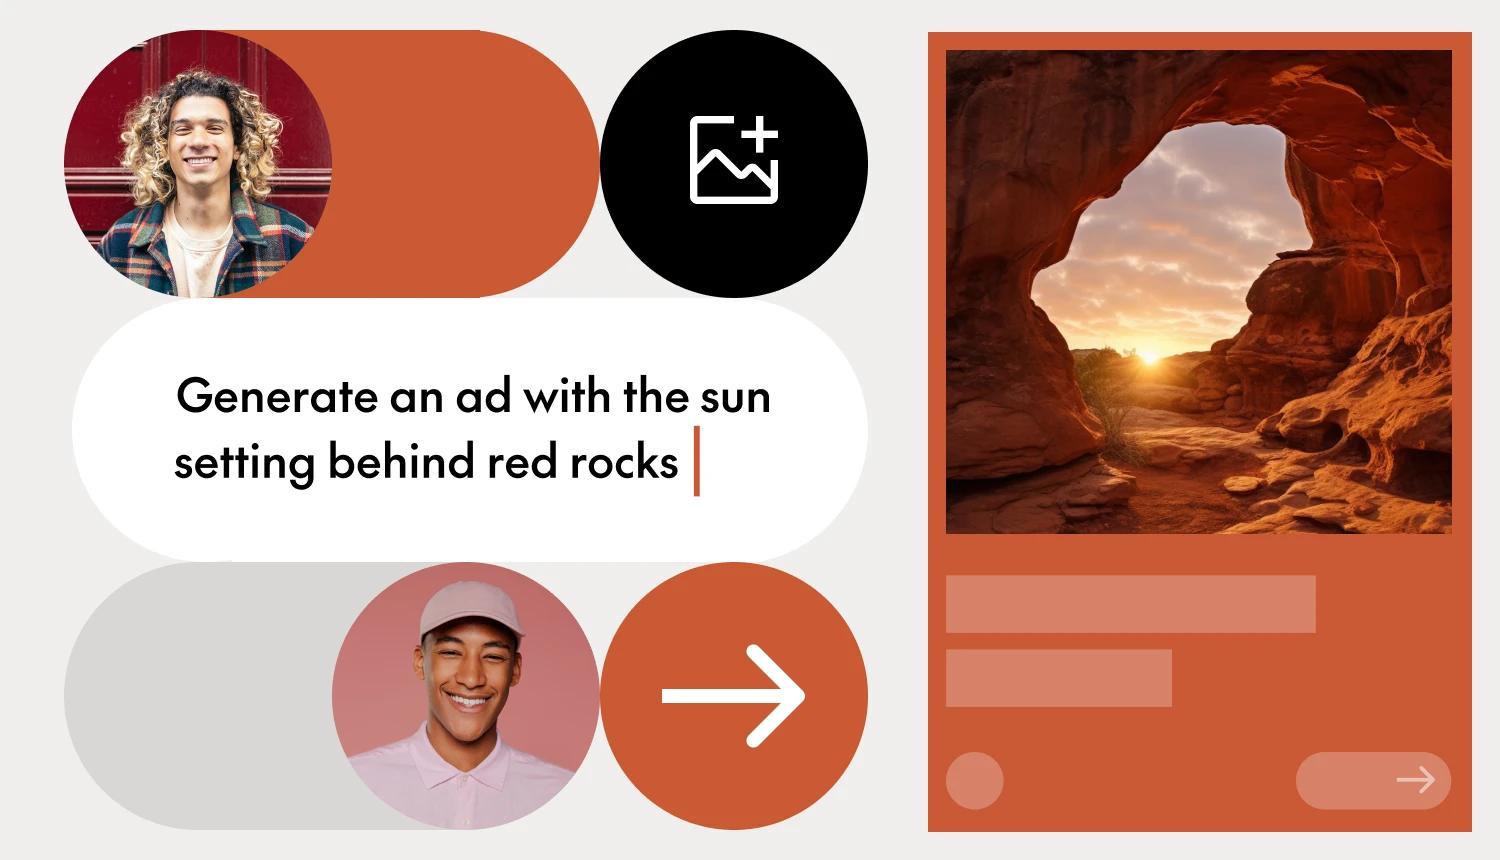
Let's put these insights into action. Build, scale, and automate campaigns with AI-powered workflows.