Get 40% off annual Pro & Team. Available through Dec 31.
Claim now
40% off!
Get 40% off annual Pro & Team. Available through Dec 31.
40% off!
Ever since we released the Design Generator, tons of you have been cutting design time in half, which says a lot about this feature's capability.
In this article, I will show you the magic behind the Generator and how to actually use it.
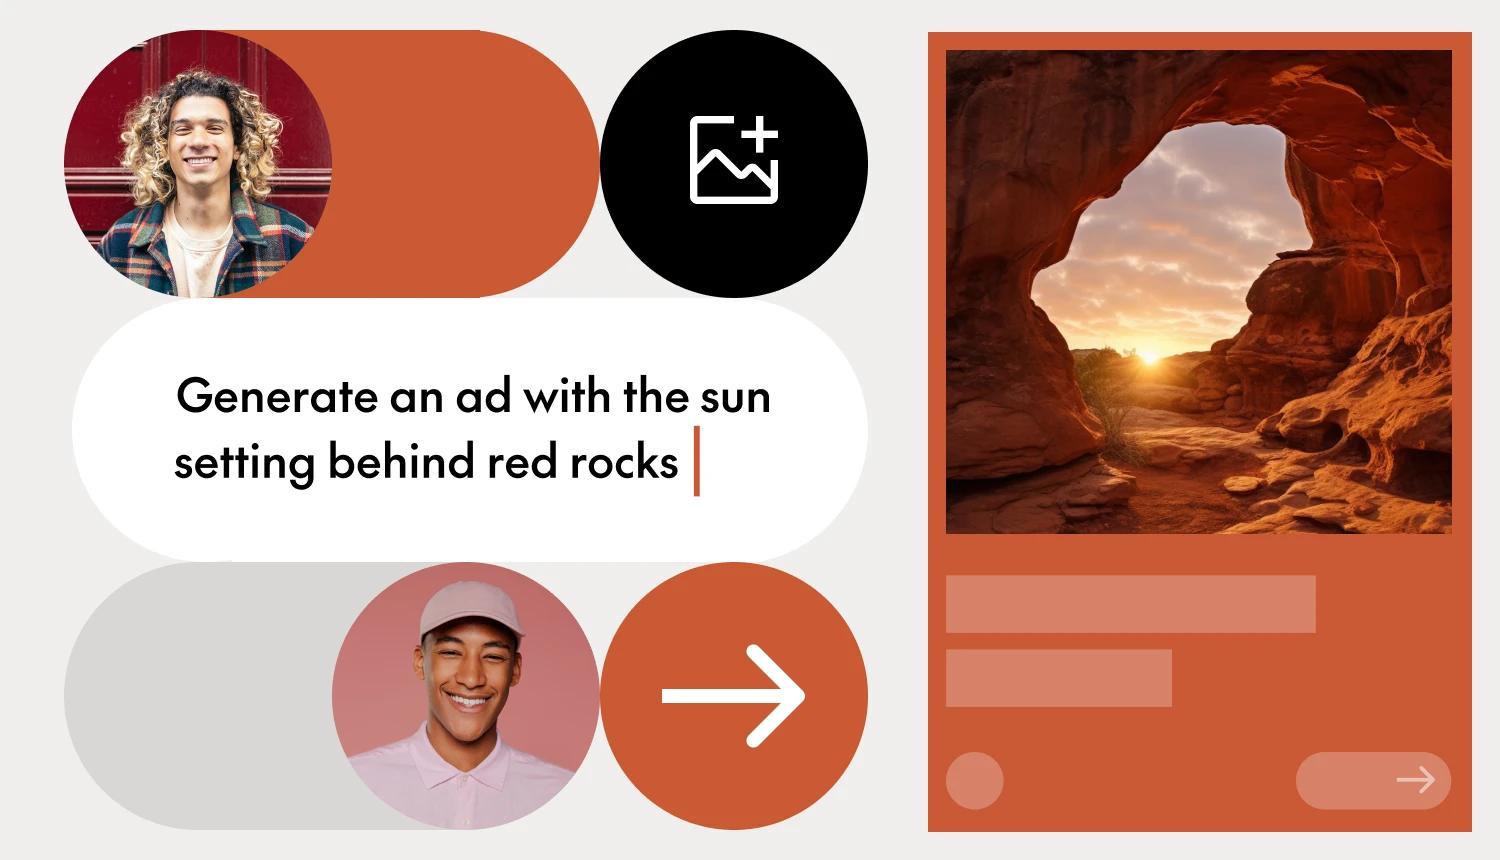
The The Brief Design Generator is your go-to feature when you want to create a large number of banner ads at the same time, in just a few clicks.
The process of creating ads can be quite time-consuming, so this feature not only speeds up your workflow but also helps you keep things consistent when designing banner ads and social media visuals.
Sounds simple, right? That's because it truly is. Let me show you how it works.
After you log into your The Brief account, click on + Create New from your screen's top right, and select Design set.
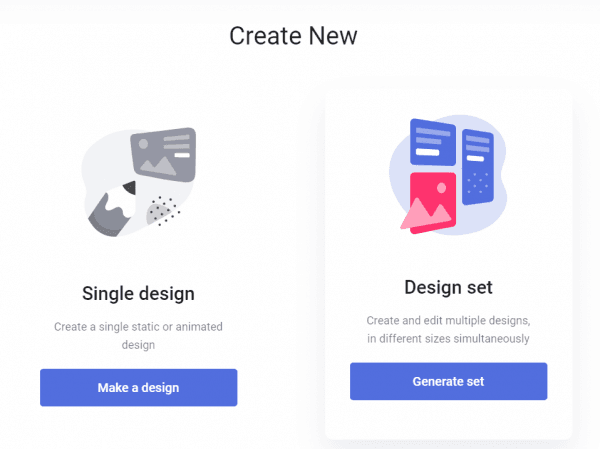
Next, you need to choose whether you want to create a static design set or an animated one.

There are over 50 preset sizes available in The Brief's Design Generator, in categories such as display, print, or social media. What's more, is that you can create your own custom sizes and use those.
Whether you selected static or animated in the previous step, this one is the same for both situations.
After you decided on the sizes you want to generate, click Next.
Next, it's time to choose how you want to approach the design process. Do you want to start from scratch or use one of our templates?
The templates are designed to look good no matter what size you choose, so you don't have to worry about editing your visuals too much.
I selected a few different sizes and a template so you can see how it adapts to each size. After I chose the template I want to use, I clicked on Preview.
If you decide to create your own design set from scratch, then this is what you'll see after you click that button.
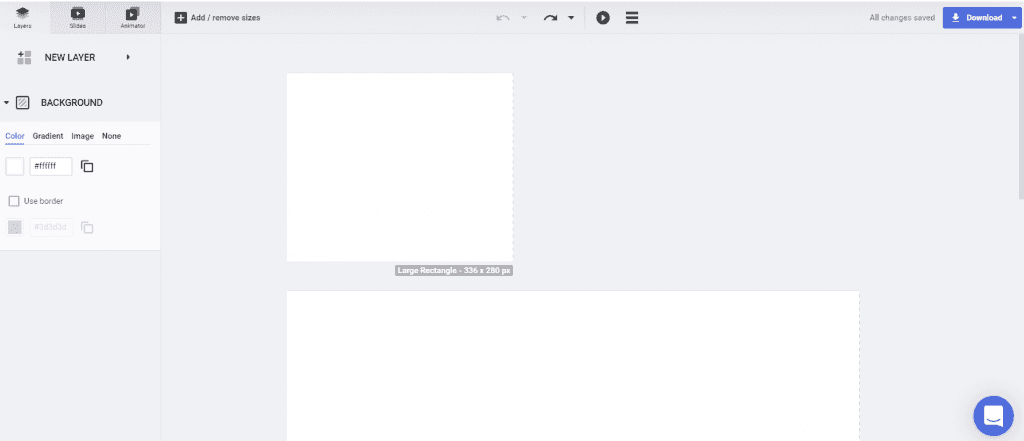
To start creating your design, just click on New Layer to add images, shapes, buttons, text, masks, or other elements that you want.
All the changes you make will be applied to each size, but you'll be able to customize and tweak each design if needed by double-clicking on it.
This step applies only in the case where you used one of our templates.
After you're satisfied with the way your design set looks like in preview mode, it's time to generate the set by clicking the corresponding button.
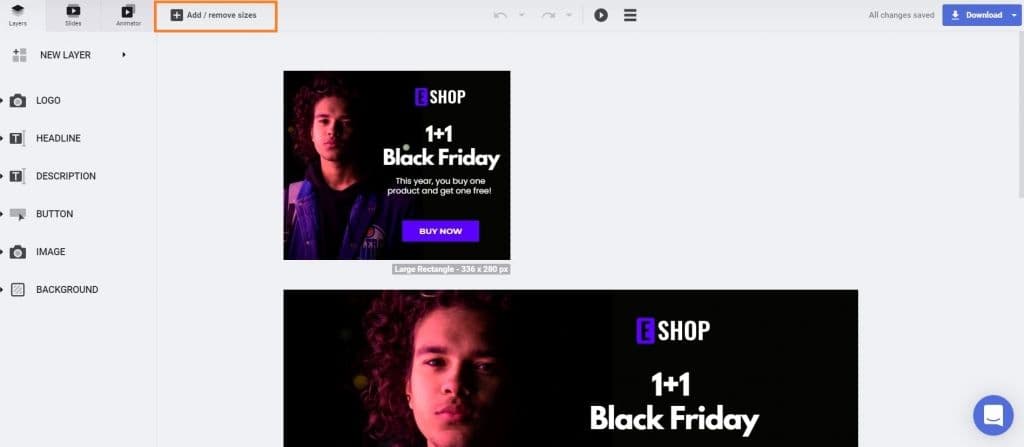
In case you forgot to add a size or don't need as many, you can add or remove sizes at this stage.
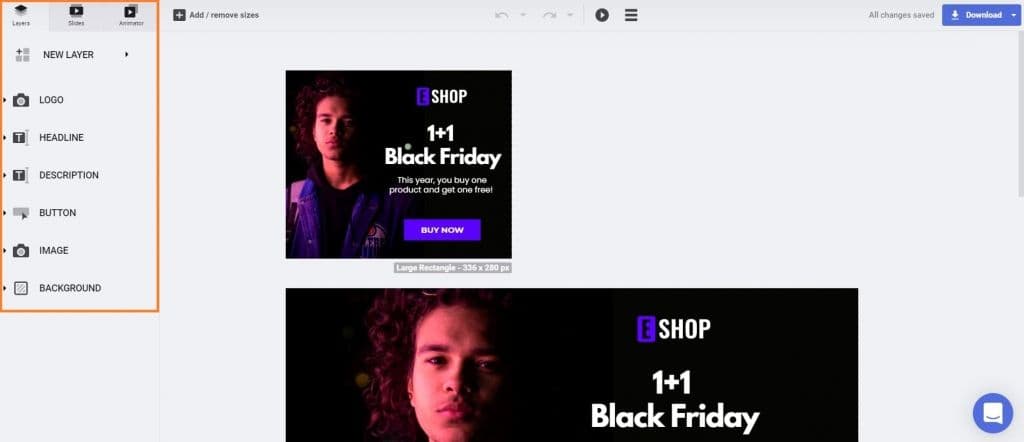
From the menu on the right side, you can change or remove any element from your designs, such as images, colors, font, buttons, text, or background. Any tweak you make will be reflected on all sizes automatically.
Feel feel to explore this menu and play with the options you have to create a design set just the way you imagine it.
Also, by clicking the play icon from the top center of the workspace, you can preview all the designs from your ad set to ensure they all look good.
Once you're happy with all the tweaks you made, it's time to download the design set.
As you can see in the screenshot below, you can choose between various file types, such as JPG, PNG, HTML, MP4, GIF, and more, depending on the type of design set you created—static or animated.

If you have a couple of designs in your set, then your download will be ready in just a few seconds, and you'll get a zip file.
In case you created a set that contains a lot of designs, it may take a little more for the download to be ready, and you'll have the option to receive the zip file by email.
Is having more time to complete other tasks important to you? Then you need to try the Design Generator to see how it completely changes your workflow and helps you achieve more in less time.
Note: At the time, this feature is only available for paid accounts.
Let's put these insights into action. Build, scale, and automate campaigns with AI-powered workflows.