

Introducing Edit with Prompt, AI-Powered Resize, and Predictive Scoring
The Brief Team
Nov 18, 2025 - 4 min read
Creatopy is now The Brief.

You may have read about the benefits of making templates. Either that, or you’ve used a ready-made design template and want to create editable templates for internal use. If so, you’re in the right place. We’ll walk you through the six steps to designing a template, then show you how easy template creation can be using a design tool like The Brief.
How do you make templates? Using the six steps highlighted below:
Start the template design process by defining your target audience, both in terms of who will be editing it and who will be viewing it once it’s published. Having this information in mind from the get-go can give you a better idea of what usability and design aesthetic your template should have.
Here are some questions you can ask yourself before designing your template to better understand who’ll be editing it and what editing needs they require:
If marketers or those with minimal design experience will edit the templates, you should create templates that reflect this. Think drag-and-drop functionalities, clearly labeled placeholders for text and image, and mostly locked design elements.
On the other hand, if templates are meant for professional designers, you can give templates more customization options. In this case, templates are more of a foundation as opposed to a restrictive guide.
See how our designers and non-designers used templates to scale blog visuals
Secondly, you need to make sure your final design catches the eye of your final audience, matching their expectations. To do so, ask yourself:
The answers to these questions pave the direction for the overall design.
For example, if you’re creating a design for LinkedIn ad templates, your template should be simple and focus on delivering your message with professionalism as a priority. Think succinct messages and minimal distractions. This would differ from designs for Google display ads, which typically allow more space for creativity.
If you already have a preferred design tool, you can skip this step. But if this is your first time creating design templates, you must choose the design platform to help you bring your vision to life.
When considering your options, consider what features you’d need to achieve your desired look, as this can narrow down and speed up your search.
For example, a general creative tool like Canva may be great for creating simple templates, as it doesn’t offer granular capabilities that expert designers might typically be used to. On the other hand, a tool like The Brief provides more in-depth capabilities suitable for social media and display ads.
When assessing the different design tools, consider the following:
Check out these must-have template design tools for different use cases
Once you’ve picked the perfect design tool for your needs, pull up your brand guidelines. Having these on hand before you start designing can help you during ideation, shaping the template’s creative direction in line with your brand’s look and feel. Not only that, but it saves you from scavenging for these branded components later on.
At the least, your brand guidelines should contain:
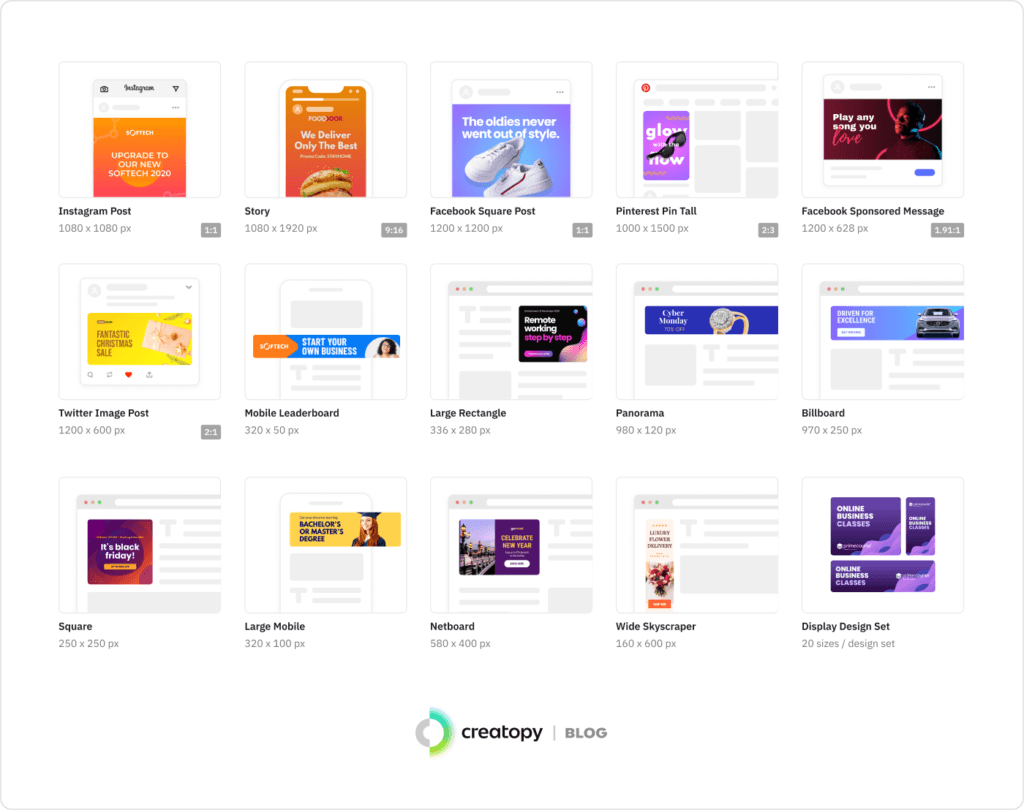
Now, it’s time to figure out what dimensions are best for your template. Some design platforms, like The Brief, give you preset dimensions you can start with, each suiting a different platform or channel.
Getting the template’s sizing before you get deep into the design process can save you the headache of resizing and reformatting assets later. This would end up being time-consuming and arduous, especially if you need to rearrange, resize, and reorganize each design element later on.
Now that you have the right-sized blank canvas to work with, you can start designing your template.
Start with your template’s layout, homing in on the placement of key elements—image frames for product photos or hero images, text boxes for headlines and subheadings or body text, and call-to-action buttons. These should work together in a complementary way. Make sure you label placeholders with texts like “Insert headline here” or “Replace with product image,” so editors know where their input is needed.
Now that you have your template’s layout figured out, it’s time to incorporate your brand components. Add your logo, experiment with branded media, sprinkle in the right colors, and use the correct typography. Play around with the positioning of these elements—and different combinations of them—until you get something that’s polished, on-brand, readable, and suitable for your audience.
Once you’re done, lock in critical layers like backgrounds, brand colors, and non-editable media elements so editors can’t change them.
Need design inspiration? Check out The Brief's banner design templates.
Once you’re happy with your custom design template, save it in an editable format and store it in a clearly labeled folder. You can then go ahead and distribute it to your team so they can easily find, access, and view or edit it right away.
If you want a real-life preview of this process, here’s what template creation would look like in The Brief.
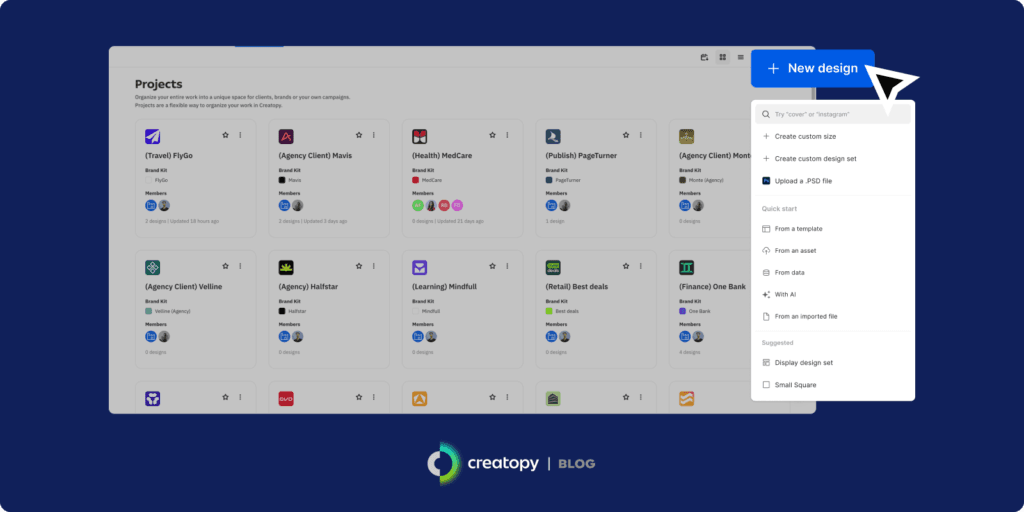
To start the template creation process, select “Create a new project” in the The Brief platform and give your new design project a name.
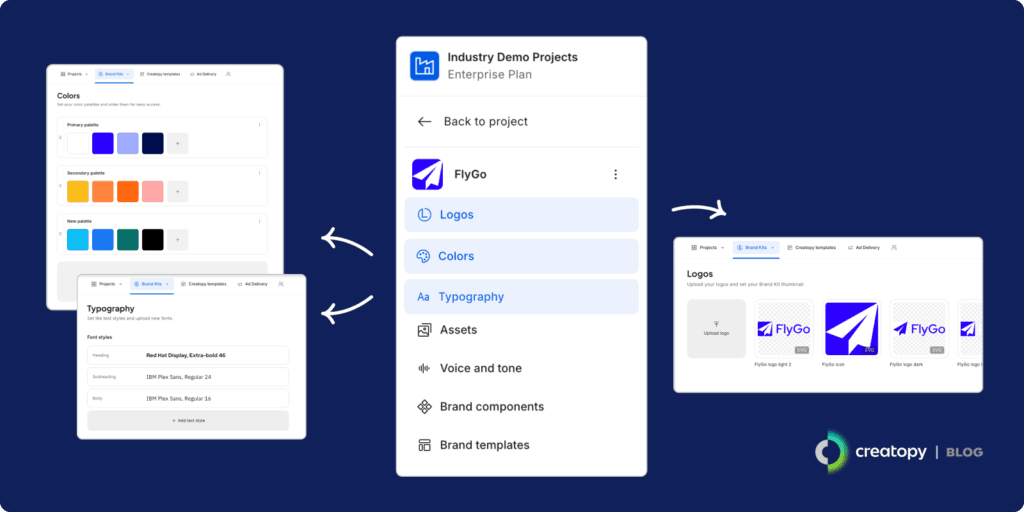
At The Brief, we focus on embedding your brand into every new asset you create. This is why the second step of creating a template is either picking one of your existing Brand Kits or building a new one.
You can create a new Brand Kit in two ways: manually or using AI. For the latter, input your website and let AI extract your most important brand elements.
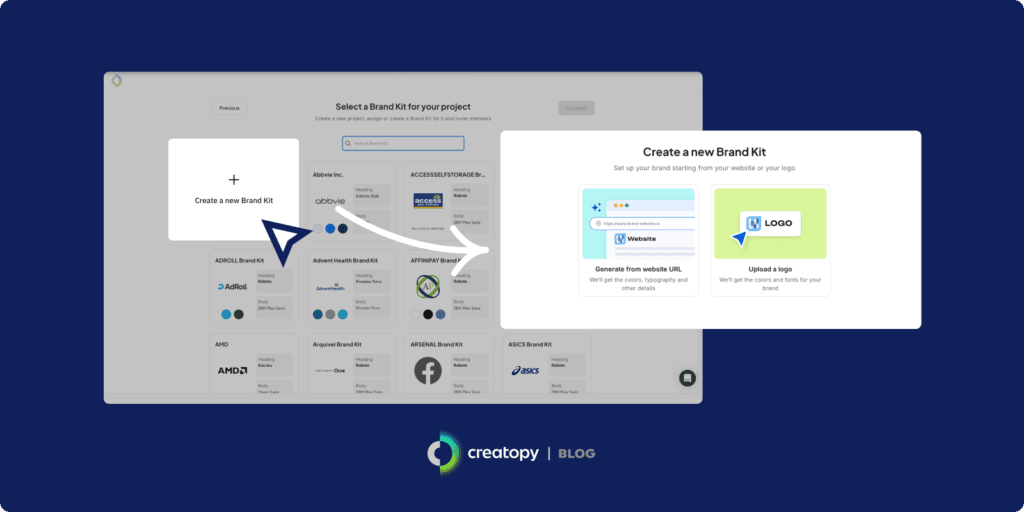
In the end, your Brand Kit should consist of colors, logos, and typography, as well as media assets, brand components, and your brand’s voice and tone.
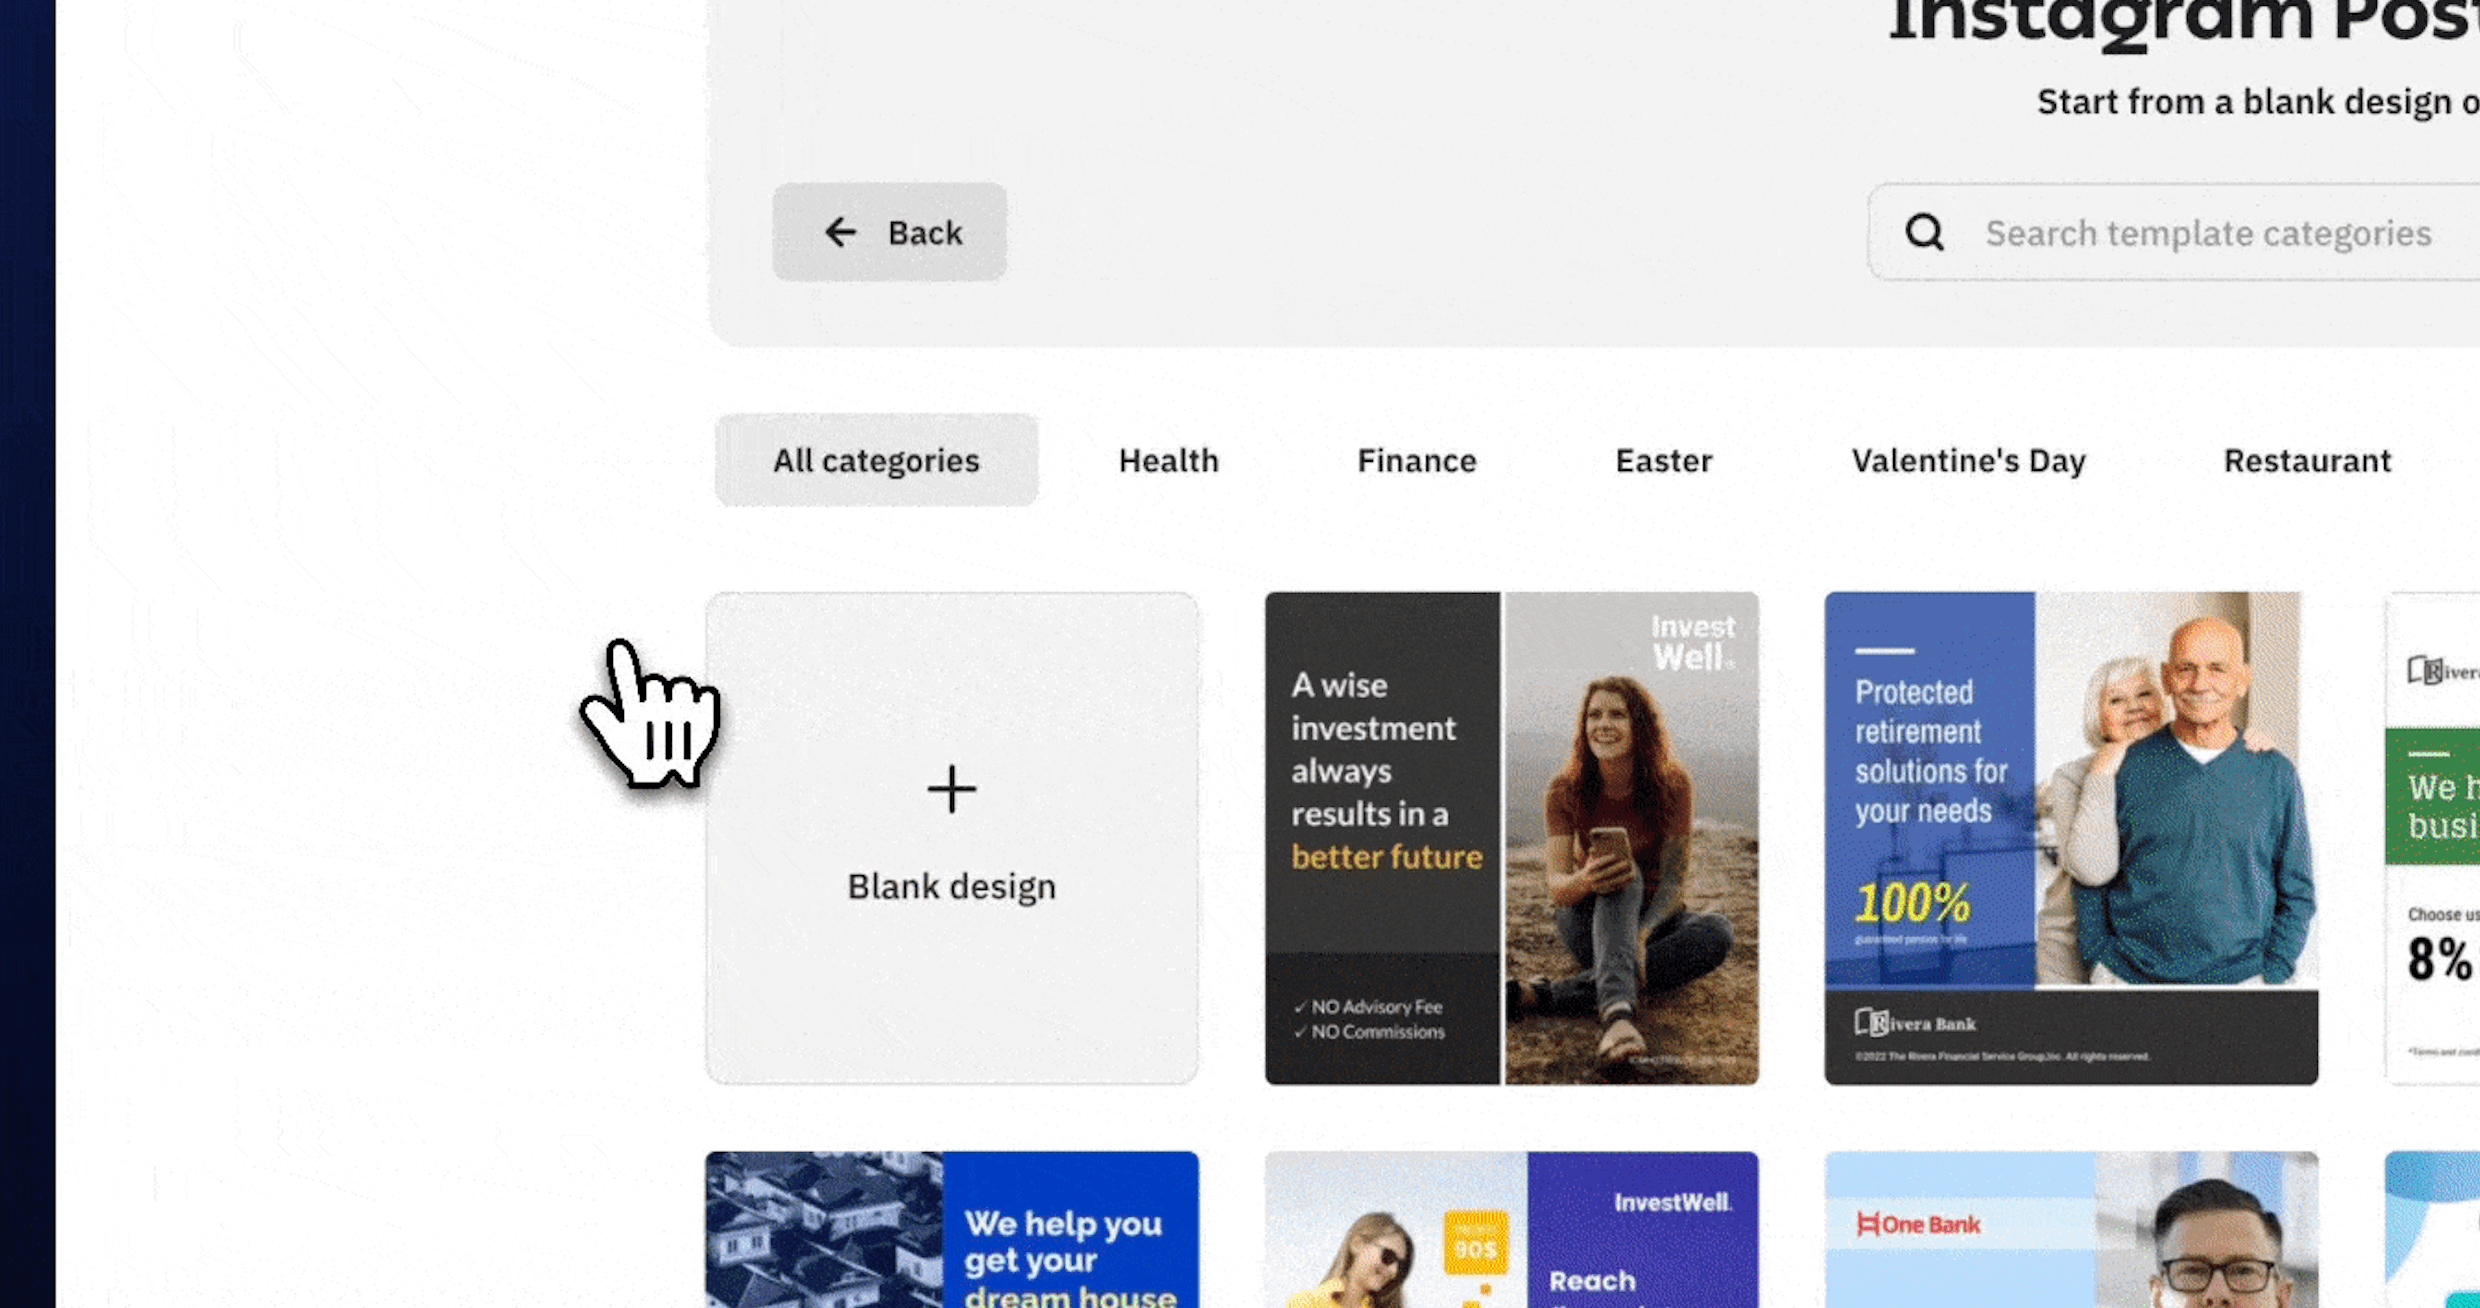
To get the design process rolling, you first need to choose a fitting size for your template. In The Brief, you can create a custom size or select one from The Brief’s ready-made sizes. These ensure your designs are suitable for specific channels or use cases. If you’ve found a suitable one, click on it to start designing a template in that size.

Next, you’ll have the option of choosing either a ready-made template to start customizing or starting a new template design from a blank canvas.
Now that you’ve covered the foundational elements, you can start designing your template using The Brief's features. Use elements such as text, buttons, shapes, icons, and lines—among many other features—the lay out your template design.
Then, use your Brand Kit to embed your brand elements into your template and create an on-brand design template.
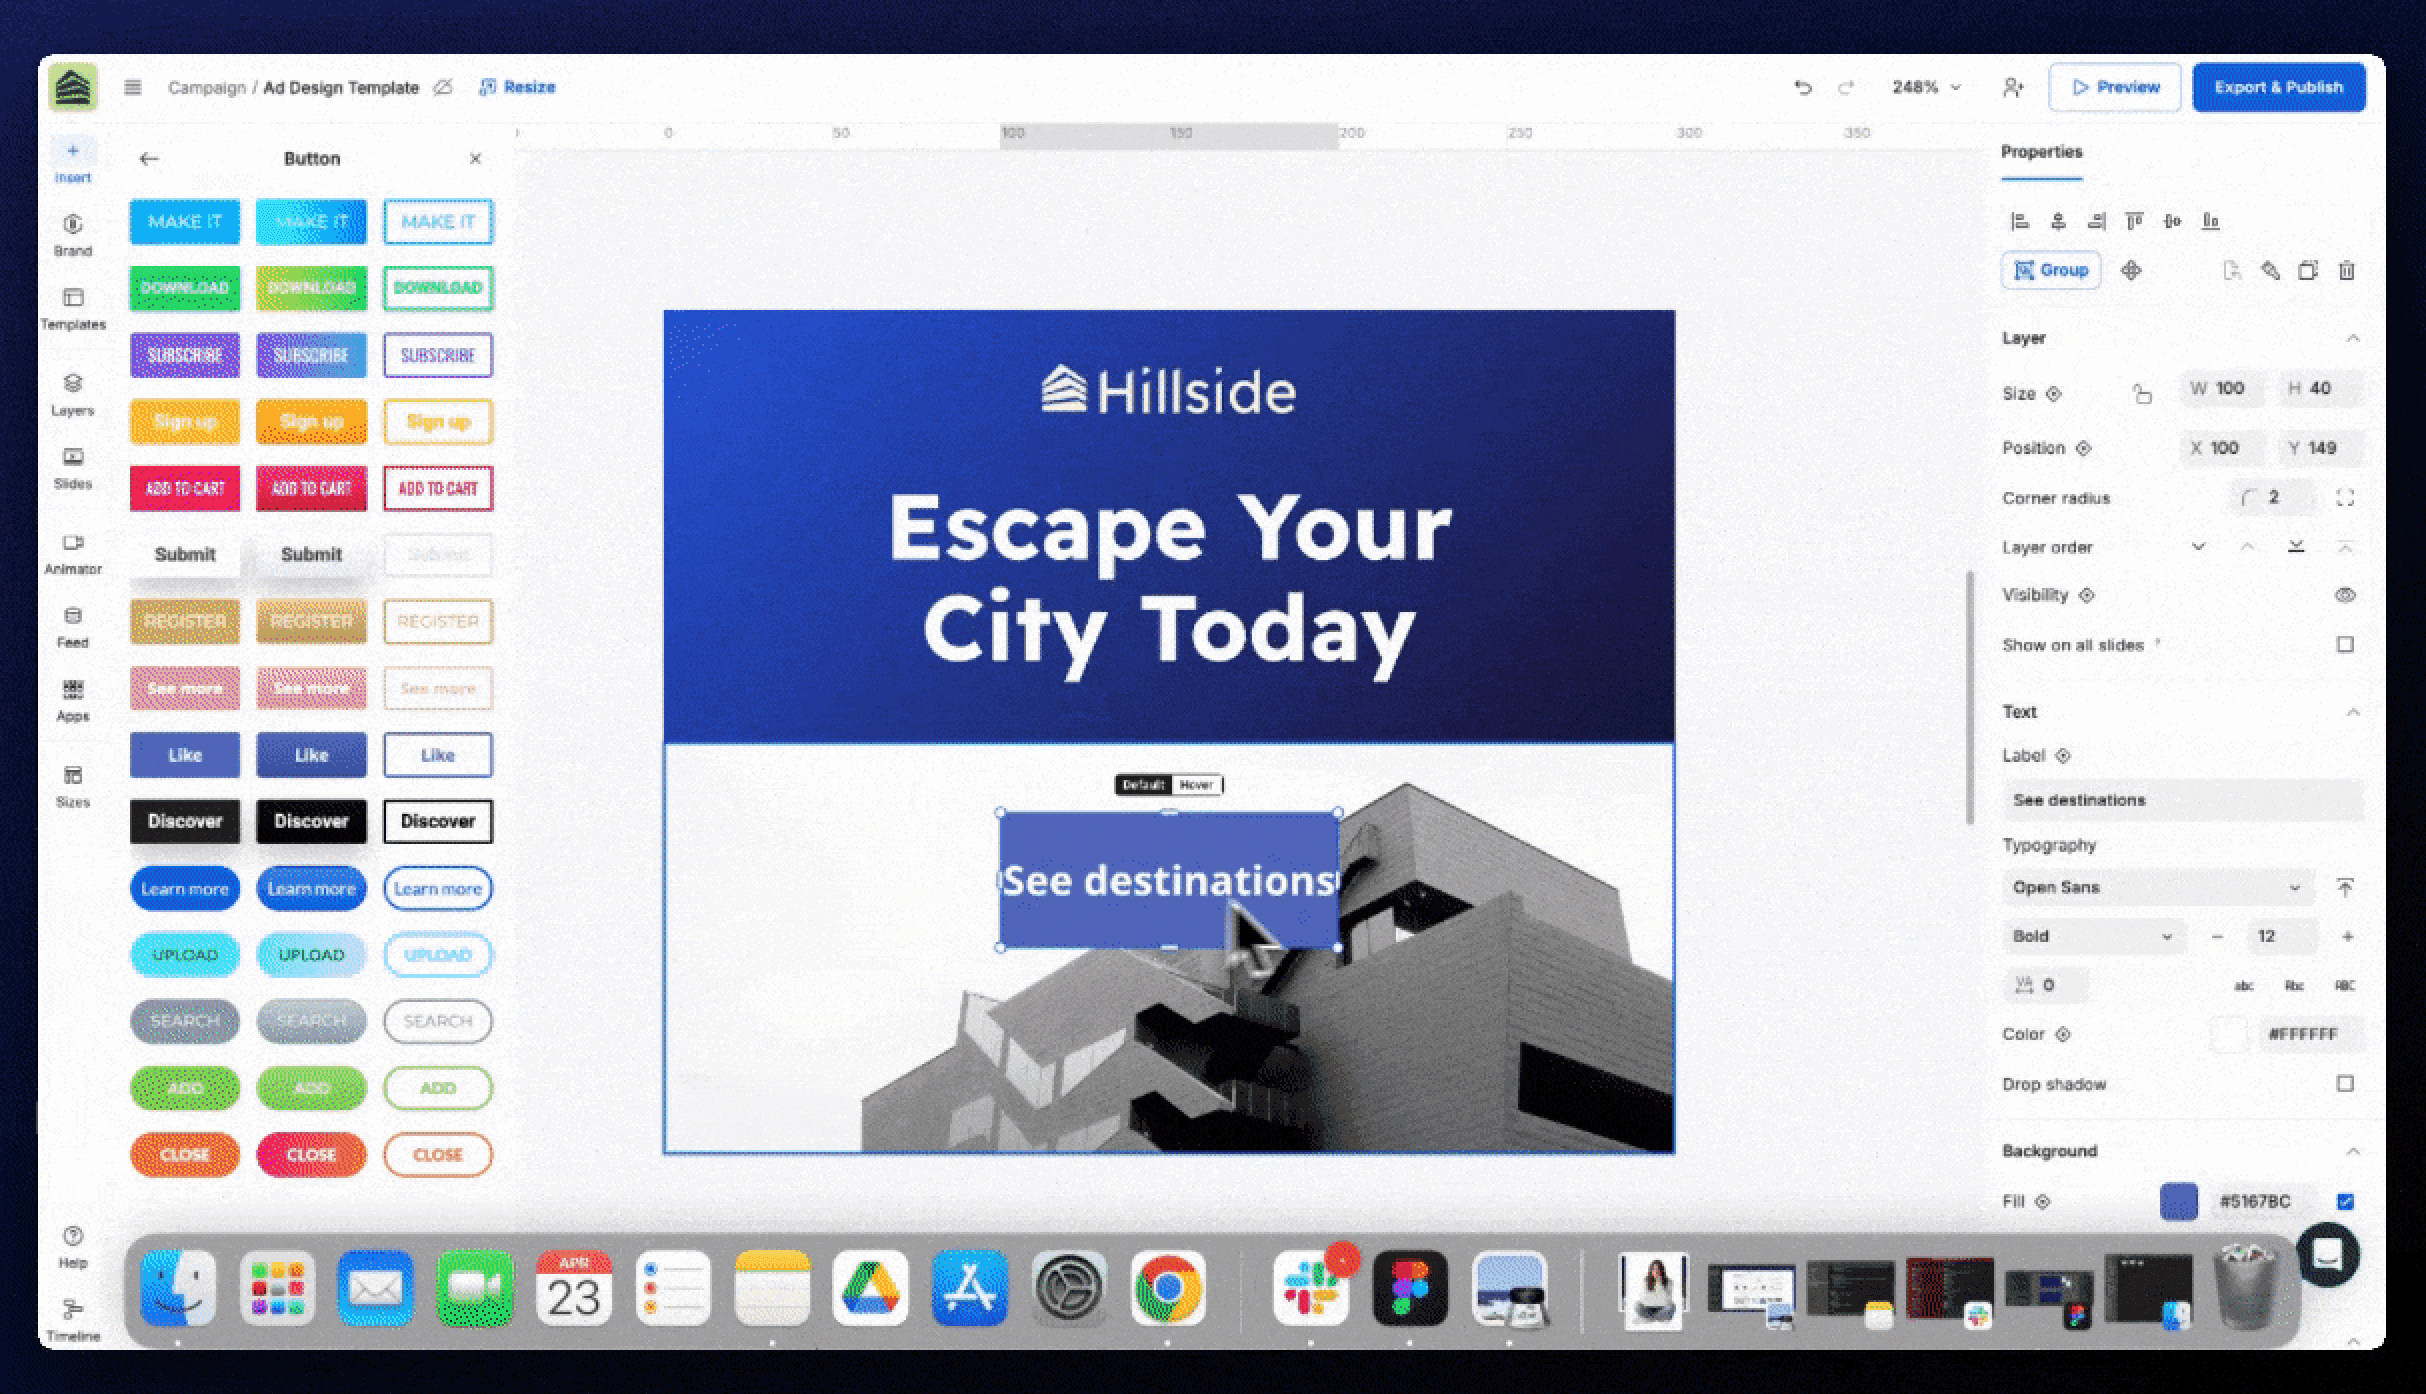
Then, lock in the elements you don’t want editors to fiddle with as they edit a design—such as specific elements or the template’s background. You can manage this in the Layers tab, which is accessible via the left-hand toolbar.

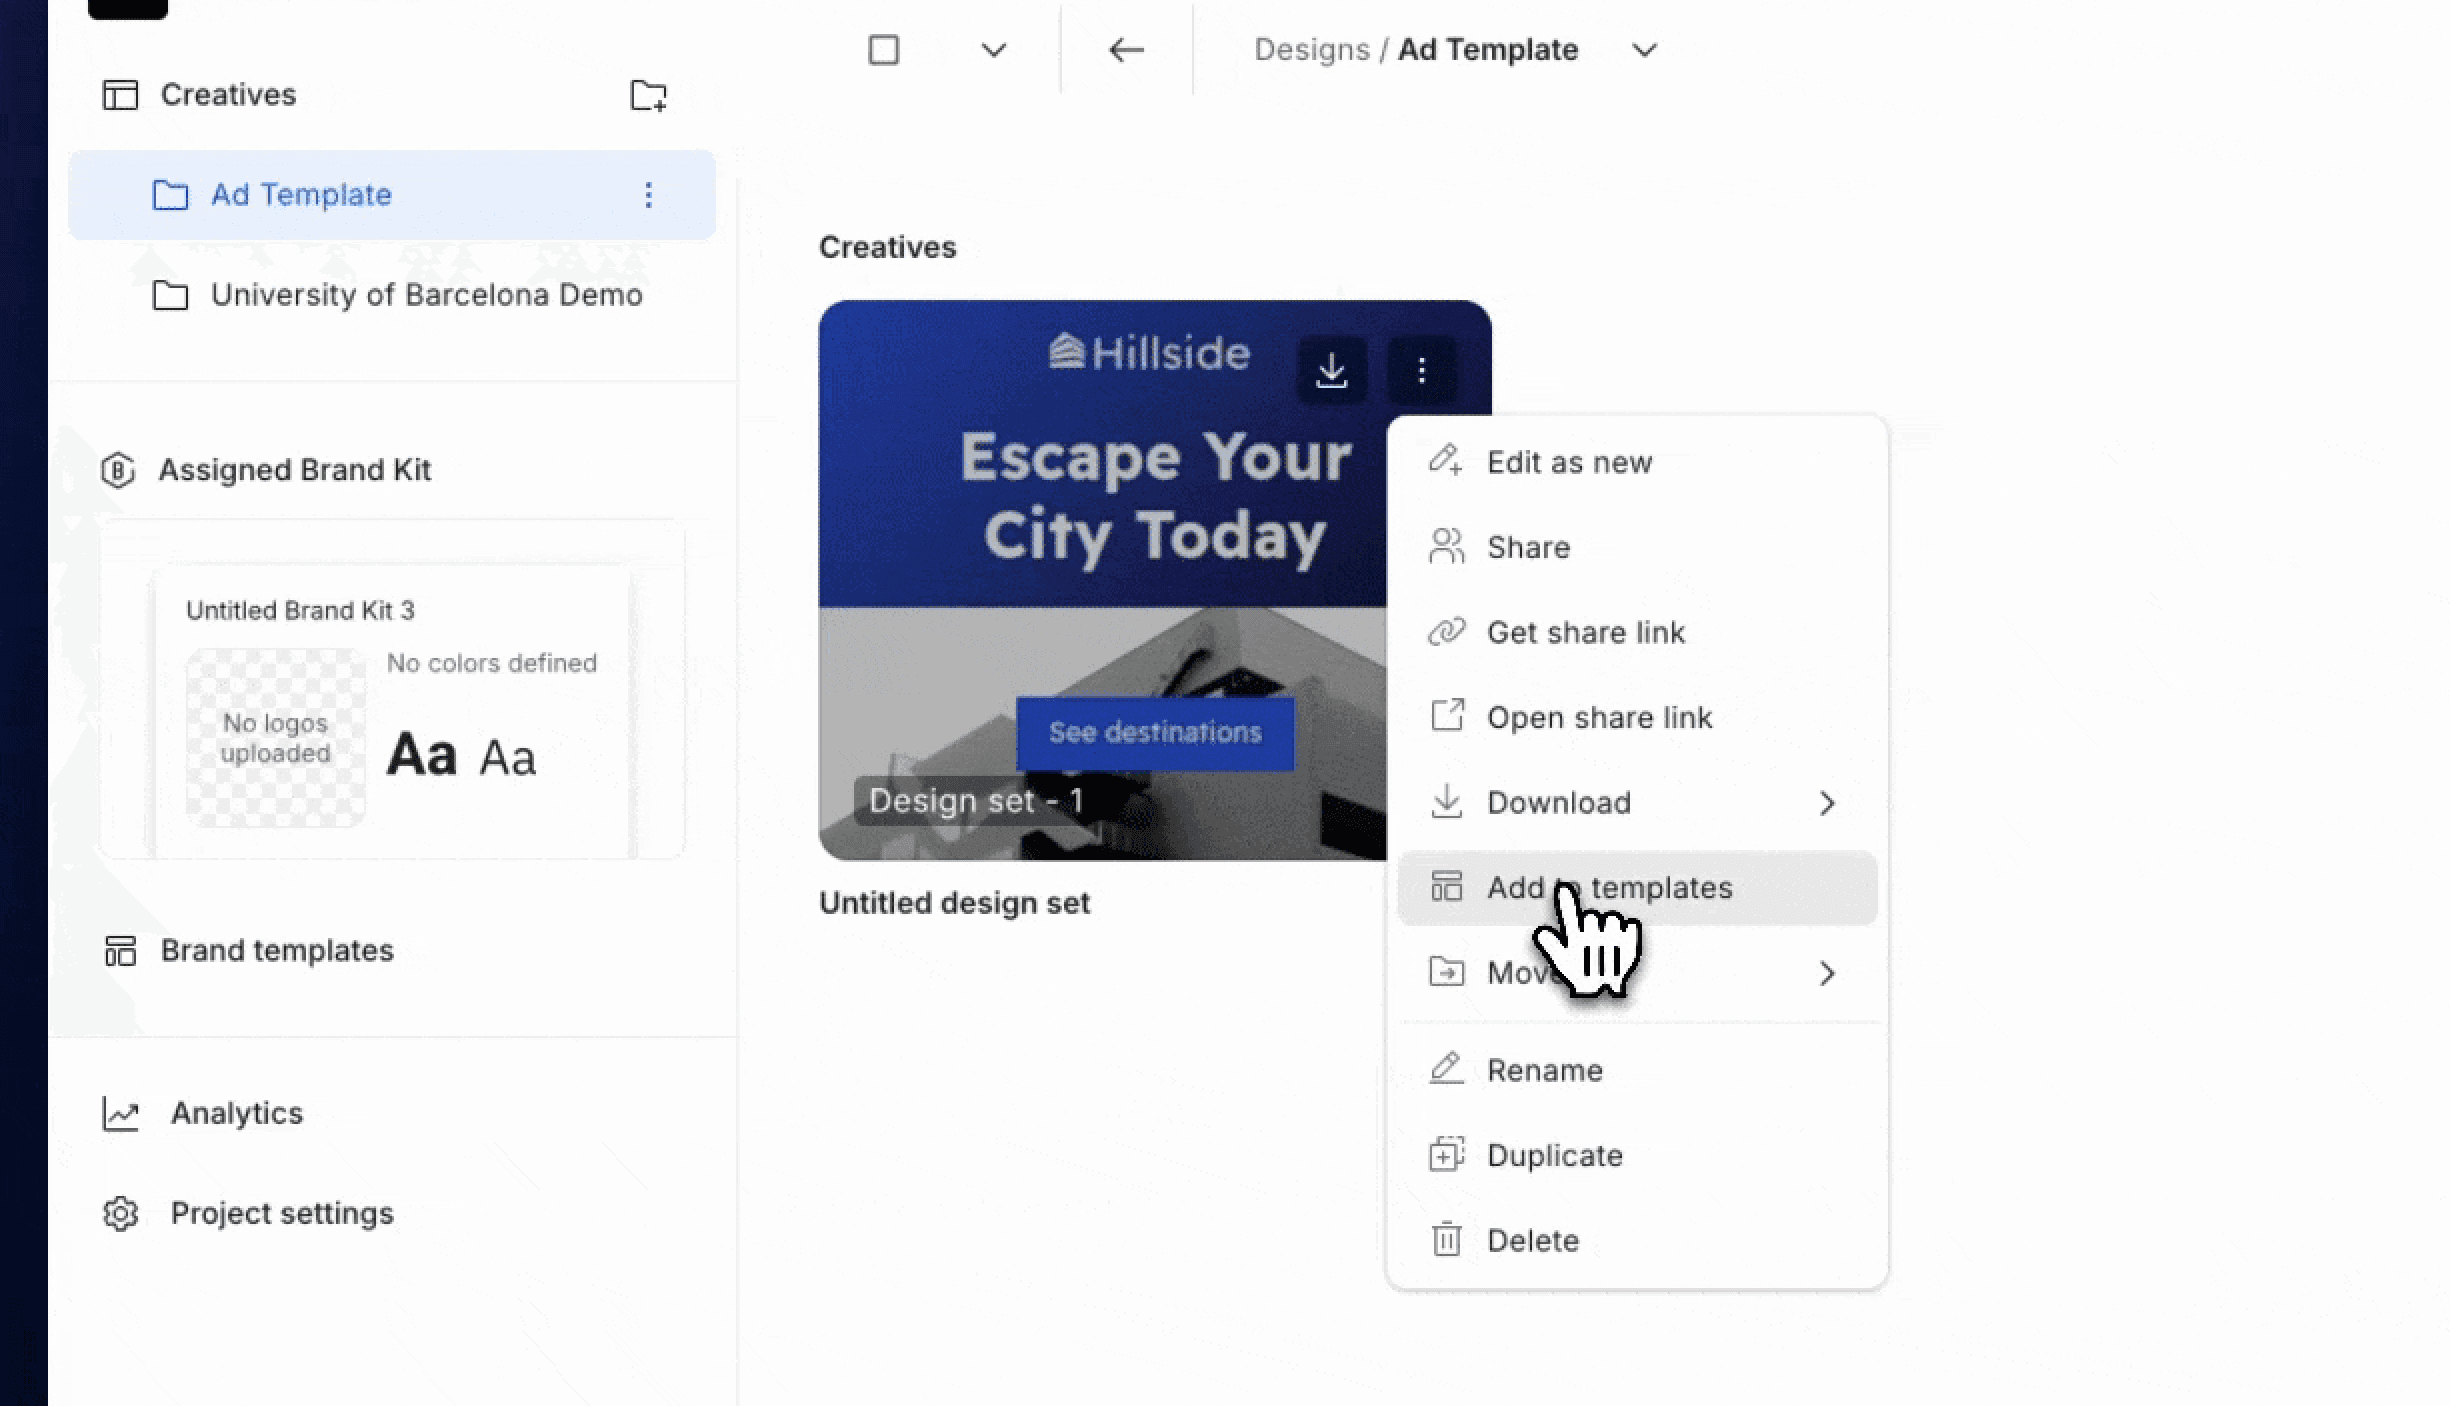
Once you’re done, you can save your design as a template in The Brief so those who need it can easily find it within the files on the platform.
Once you’re done with your design, you can share it with those needing access. You can enable different roles for each person you share it with, making them a Viewer, Editor, or Template Designer for that specific template design. If you need to create more granular access levels, you can do that with The Brief's Enterprise plan.

Now that you know how to create editable templates, it’s time to put your new knowledge to good use. If you want to create brand-specific templates that can ramp up your speed and quality of design production, you don’t need to look too far. As discussed, The Brief can help you do just that. If you want to get started with template creation, create a free account today to see what the platform can do for you.
Let's put these insights into action. Build, scale, and automate campaigns with AI-powered workflows.
The Brief Team
Nov 18, 2025 - 4 min read

Derya Yildirim
Feb 21, 2025 - 7 min read

Derya Yildirim
Feb 3, 2025 - 6 min read


